You often see the term “kfb” in knitting projects, and if you’re wondering what does kfb in knitting mean, it stands for knit front back. When you knit in the front and back of a stitch, you create one extra stitch. Many knitting patterns use this increase, especially in textured fabrics. You may notice that kfb knitting blends well in ribbing or seed stitch. Most tutorial guides describe the kfb stitch as a standard method. If you want to know what does kfb in knitting mean, you can find kfb knitting explained in almost every tutorial. When you knit in the front and back, you add stitches without much effort.
Key Takeaways
KFB means knitting into the front and back of the same stitch to add one extra stitch easily.
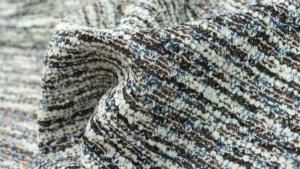
This method creates a small bump on the fabric that blends well in textured patterns like ribbing and seed stitch.
KFB is simple and great for beginners, helping shape garments like sweaters and hats without making holes.
Follow the step-by-step process carefully: knit the front, then the back of the stitch before sliding it off the needle.
Practice KFB on swatches to improve your tension and see how it looks before using it in your main project.
What Does KFB in Knitting Mean
KFB Definition
You may wonder, what does kfb in knitting mean? In knitting, kfb stands for knit front back. This term describes a simple way to increase the number of stitches on your needle. When you use the kfb knitting technique, you knit into the front and back of the same stitch. This action creates one extra stitch. Many major knitting organizations and pattern writers define kfb as knitting into the front loop first, then into the back loop of the same stitch, before sliding the stitch off your needle. You end up making 2 stitches from 1. This method is called a bar increase because it leaves a small bump or bar on your fabric. You will often see kfb in patterns for hats, sweaters, and other projects that need shaping.
Tip: When you knit in the front and back, you do not remove the stitch from the left needle until you finish both steps. This helps you avoid dropping stitches.
Purpose of KFB
You use kfb when you want to increase the number of stitches in your knitting. Many knitters choose this method because it is easy to learn and remember. If you are a beginner, you will find kfb knitting helpful because it uses a familiar stitch with just one extra step. You do not need to pick up loops or wrap yarn in a special way. The kfb method fits well in ribbing and textured patterns, where the small bar blends into the fabric.
Here are some reasons why you might use kfb in your projects:
Kfb is quick and does not interrupt your knitting rhythm.
The visible bump helps you count increases, which is useful in patterns like sweaters.
Kfb creates a left-leaning increase, which can add a subtle design element.
Many instructors call kfb a foundational knitting technique because it is simple and versatile.
You may notice that kfb is not always the best choice for every project. Some knitters report that the bump left by kfb can look messy if you want a very smooth fabric. You might see unexpected bumps or uneven spots, especially when you first learn the stitch. Do not worry if your kfb increases look different from others. With practice, you will improve your technique and find where kfb works best.
To help you compare kfb with other increases, here is a table:
Increase Method | Execution | Visual Effect | Difficulty | Suitable For |
|---|---|---|---|---|
KFB (Knit Front and Back) | Knit into the front and then the back of the same stitch | Creates a subtle bump or bar increase, visible but blends well in ribbing | Easy | Shaping in ribbing, garments like sweaters and socks |
M1 (Make One) | Pick up the horizontal loop between stitches and knit into it | Nearly invisible increase, subtle | Medium | Projects needing subtle, invisible increases |
Yarn Over (YO) | Wrap yarn around needle without knitting into a stitch | Creates an eyelet hole, decorative | Easy to Medium | Lace patterns, decorative increases |
When you ask, what does kfb in knitting mean, remember that it is a simple way to add stitches by knitting into the front and back of the same stitch. This method gives you a visible but tidy increase that works well in many patterns. As you practice, you will learn when to use kfb and how to make your increases look neat.
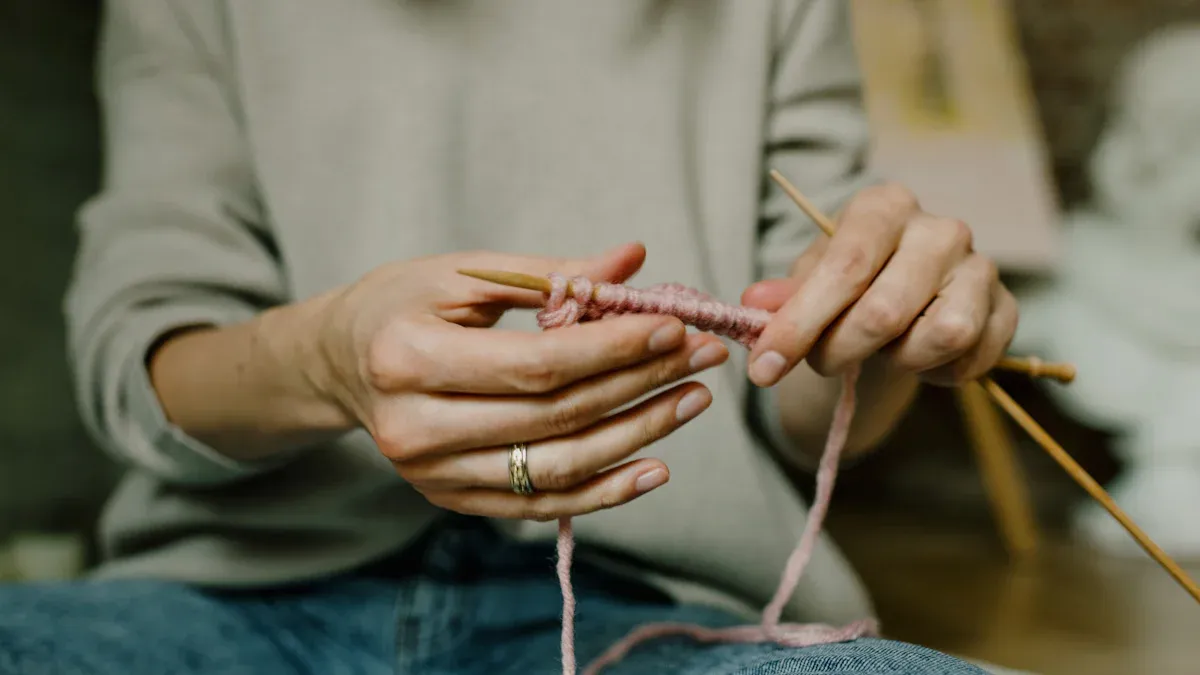
KFB Stitch Instructions
Step-by-Step Guide
You can master the kfb stitch by following clear step by step instructions. This knitting technique helps you add stitches easily. Here is how you do it:
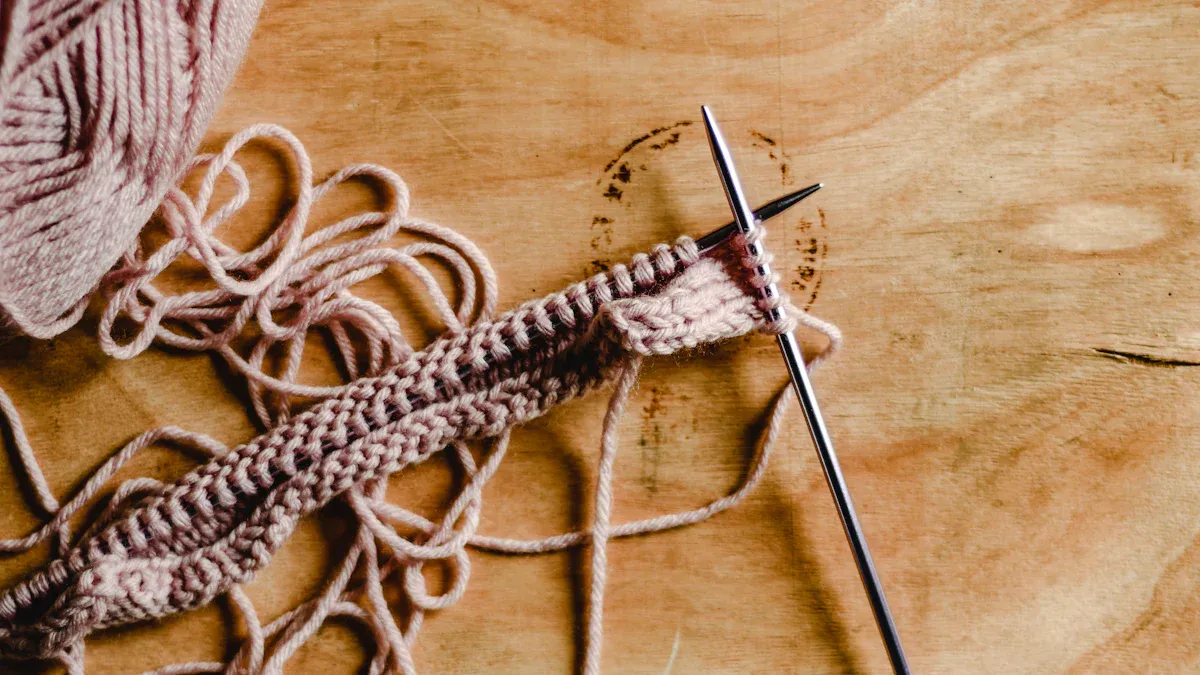
Knit into the front of the stitch as you normally would, but do not slide the stitch off the left needle.
Move your right needle behind the left needle and insert it into the back loop of the same stitch.
Wrap the yarn around the right needle and pull it through the back loop.
Now slide the original stitch off the left needle. You have made two stitches from one.
Tip: Many knitters find video or photo tutorials helpful when learning the kfb stitch. Watching each movement can make the instructions easier to follow.
Common Mistakes
When you try the kfb stitch for the first time, you might run into a few problems. Here are some common mistakes knitters make:
You may create holes at the increase point. This is normal for the kfb stitch and is part of its look.
Sometimes, your tension is uneven. The first part of the stitch may be too tight or too loose.
You might accidentally drop the stitch before finishing both parts of the kfb.
Using thick stitch markers can cause gaps near your increases.
Some knitters dislike the small bump or bar that appears after the kfb stitch.
If you notice your stitch count is off, count your stitches before and after the increase. If you make a mistake, you can rip back and redo the section. This keeps your knitting neat.
Tips for Beginners
You can improve your kfb stitch with a few simple tips:
Practice the kfb stitch often. Repetition helps you get comfortable with the movement.
Use beginner-friendly tutorials that show each step clearly.
Try to keep your tension even. Do not pull the yarn too tight or leave it too loose.
Be patient. It is normal to need a few tries before your kfb stitch looks neat.
Remember, the kfb stitch is one of the easiest increases in knitting. Mastering it will help you with more complex patterns in the future.
🧶 Note: Washing your finished project can help relax the yarn and make any small holes from the kfb stitch less noticeable.
Knit Front Back in Patterns
When to Use KFB
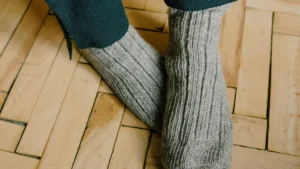
You often use kfb when you want to shape your knitting. Many patterns for sleeves, shawls, and ruffles include this increase. You might see kfb in projects that need extra width, such as sweaters or scarves. Designers choose kfb because it is easy to work and helps you increase the number of stitches without stopping your knitting flow. If you knit textured patterns like seed stitch or ribbing, kfb blends in well. You can also use kfb when you want a visible line of increases as a design feature.
Tip: Try using kfb in practice swatches before adding it to your main project. This helps you see how the increase looks in different stitch patterns.
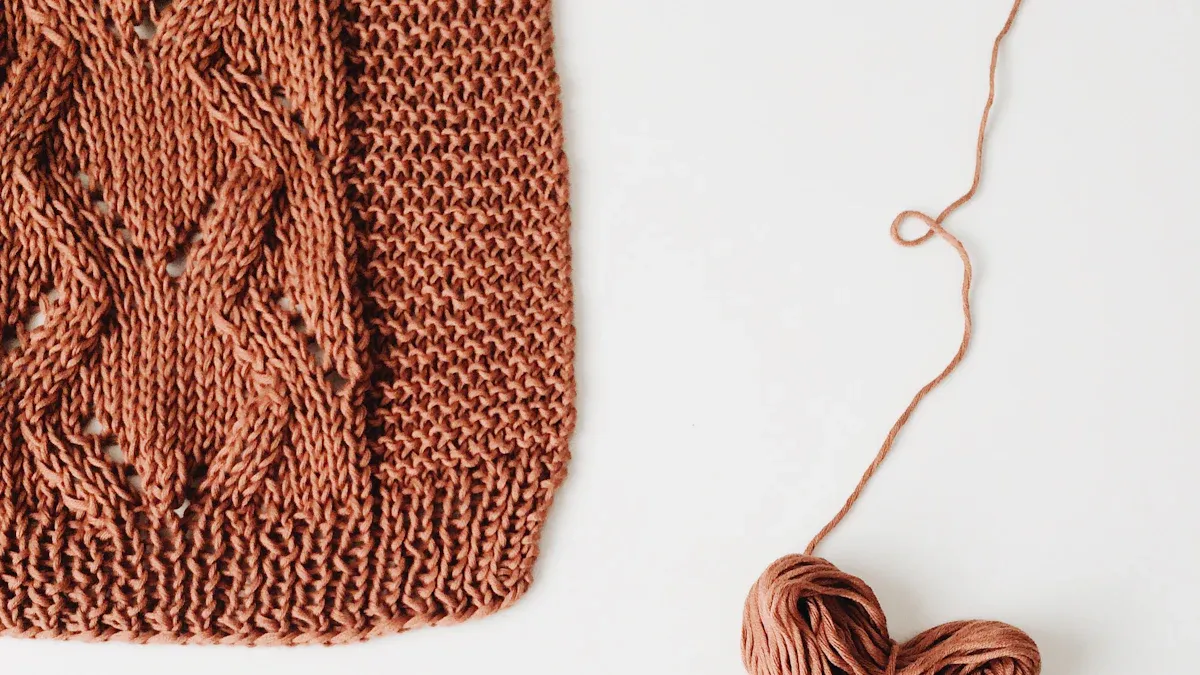
Visual Effect
The kfb stitch creates a unique look on your fabric. When you use knit front back, you see a small bar or bump on the surface. This bar leans to the left in stockinette stitch and stands out as a little line, sometimes called a “purl bar.” The bar gives your knitting a textured effect. Some knitters use this bar as a decorative element. The kfb increase is easy to spot, so you can count your increases quickly. If you want a smooth fabric, you may notice the bar more, but in textured patterns, it blends in nicely.
KFB vs Other Increases
You have many ways to add stitches in knitting. Kfb stands out because it makes a visible bar, while other increases may look different. For example, the “make one” (M1) increase creates a nearly invisible stitch. The “yarn over” (YO) makes a hole, which works well in lace. Kfb is simple and quick, but the bar may not suit every project. If you want a left-leaning increase with texture, kfb is a good choice. If you prefer a hidden increase, you might pick M1 instead. The knit front back method gives you both ease and a clear visual marker for your increases.
KFB Variations
Common Variations
Most knitting books show only one way to do the kfb stitch. You knit into the front and then the back of the same stitch. This makes a small bump, called a bar, on your fabric. You can use kfb on both knit and purl rows. There are not many other ways to do this increase in most guides. Experts say kfb is one of the easiest increases. Its steps stay the same in almost every pattern.
If you want to see how kfb is different from other increases, look at this table:
Aspect | Kfb Stitch | Yarn Over |
|---|---|---|
Effect on Fabric | Makes a small bump for a little texture | Makes holes that look like lace |
Usage | Adds stitches smoothly without making holes | Used for holes or lace in patterns |
Ideal For | Good for smooth increases in hats, sweaters | Best for patterns with lace or open holes |
You will see that kfb gives your knitting a bumpy look. Yarn overs make open holes for lace designs.
Alternatives
Sometimes you want your fabric to look smoother than with kfb. Experts suggest using other increases in these cases. In ribbing or tricky knit-purl patterns, you might use make one knit (m1k) or make one purl (m1p). These keep your pattern even. In lace, yarn overs and paired decreases help keep the lace shape. For cables, you may need to change the cable instead of using kfb.
Here are some other increases you can try:
Lifted increases (LLI and RLI) are almost invisible and make neat shapes.
Make ones (M1) add stitches between others and leave little mark.
Twisted yarn overs and loop twists give a new texture and a small increase.
Some knitters use a special kfb that does not make a bump, so it looks smoother.
🧵 Tip: Try different increases on a practice swatch before using them in your project. This helps you pick the best one for your pattern.
You can choose the increase that works best for your project. Each method changes how your knitting looks and feels. Try different ones to find your favorite.
You now know that kfb means knitting into the front and back of the same stitch. This simple increase creates a small bar and does not leave a hole, making it perfect for casual designs or projects where you want a smooth look.
Kfb is easy for beginners and helps shape garments or add width.
Mixing kfb with other increases, like lifted increases, lets you create unique textures.
Practicing on swatches helps you see how each method changes your fabric.
Try kfb in your next project and explore how different increases affect your knitting’s style and structure.
FAQ
What does KFB stand for in knitting?
KFB stands for “knit front and back.” You use this technique to increase stitches by knitting into the front and then the back of the same stitch.
Will KFB leave a hole in my knitting?
No, KFB does not leave a hole. It creates a small bump or bar on your fabric. This bump blends in well with textured patterns.
Can I use KFB on both knit and purl rows?
Yes, you can use KFB on knit rows. For purl rows, you use the “purl front and back” (PFB) method. Both add one stitch.
How do I fix a mistake when doing KFB?
If you make a mistake, stop and count your stitches. You can gently undo the last stitch with your needle tip and redo the KFB correctly.