You want to make something cozy, stylish, and impressive. Cable Knit Sweaters give you that feeling of accomplishment when you finish them. Many knitters spend about 30 hours and work through around 4,000 stitches on these projects. That might sound big, but you can take it one step at a time. You do not need to be an expert to get started. You will find that each twist and turn in the cables adds excitement to your knitting journey.
Key Takeaways
Cable knit sweaters offer stylish, cozy designs that show off your knitting skills and creativity.
Using wool yarn and the right circular needle size helps your cables look crisp and your sweater fit well.
Practice with swatches and manage your tension to keep your cables neat and your sweater size accurate.
Small, one-skein projects like cowls or baby sweaters let you try cables without a big time or yarn commitment.
Join knitting groups or online communities to get support, share your work, and learn from others.
Getting Started
Why Choose Cable Knit Sweaters
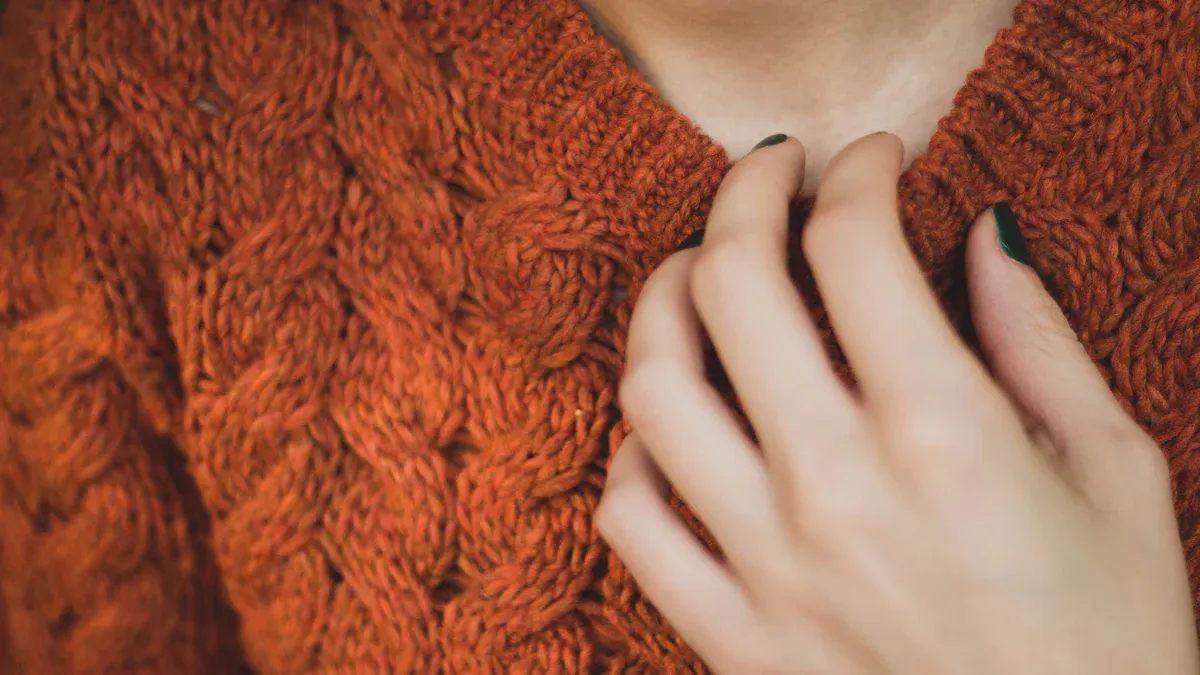
You might wonder why so many knitters love making Cable Knit Sweaters. These sweaters stand out because of their bold, textured patterns. When you wear one, you show off your skills and creativity. Cables add depth and style to any sweater, making it look cozy and classic at the same time. You can pick from many designs, from simple twists to complex braids. Each project feels like a new adventure.
Tip: Cable patterns can look tricky, but you can master them with practice and patience. Start with a small project or a simple cable to build your confidence.
Cable Knit Sweaters also keep you warm. The raised stitches trap heat, making them perfect for chilly days. You can use different yarns and colors to match your style. Many knitters say finishing a cable sweater gives them a huge sense of pride.
Cable Knitting Basics
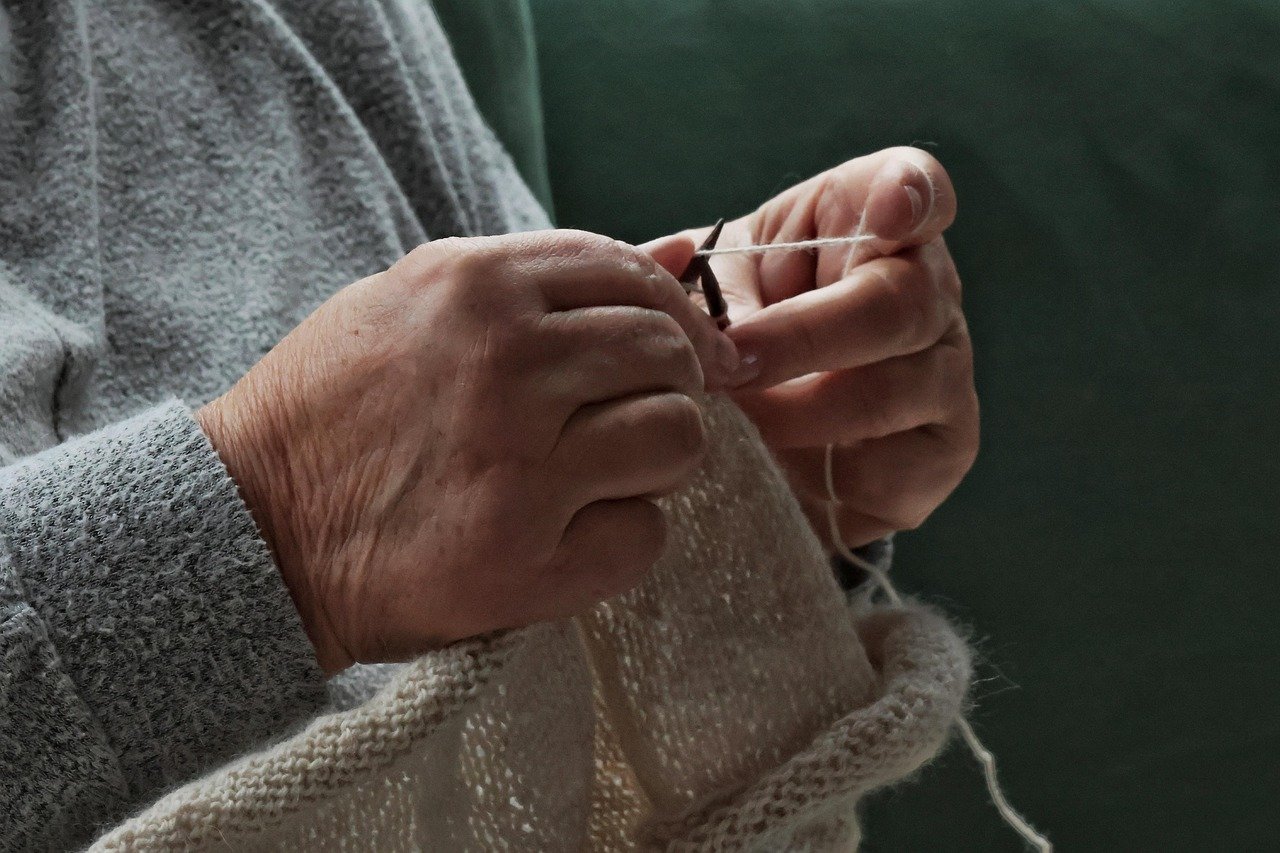
Cables form when you knit stitches out of order. This simple trick creates the twisted look you see in cable patterns. You usually use a cable needle to hold a few stitches while you knit others. For example, in a 2-over-2 cable, you cross four stitches by knitting the last two first, then the first two. You can even make small cables without a cable needle by carefully rearranging stitches.
Cables lean left or right based on where you hold the cable needle. Hold it in front for a left-leaning cable. Hold it in back for a right-leaning cable.
Cable patterns use abbreviations like C4B (Cable 4 Back) to show you how to cross stitches.
Practice with swatches before starting a big project. Swatching helps you learn the moves and check your tension.
Wool yarn works best for cables because it stretches and shows off the twists. Cotton yarn is less stretchy and can make cables look flat.
Remember, every cable pattern has two parts: the cable stitches and the background stitches. Both work together to create the final look. If you make a mistake, don’t worry. You can fix most cable errors by carefully undoing a few stitches and trying again.
Tools and Materials
Yarn Selection
Choosing the right yarn makes a big difference in your knitting experience. For Cable Knit Sweaters, wool yarn works best. Wool stretches and bounces back, so your cables look crisp and full. If you want a lighter sweater, try a wool blend. Avoid cotton for cables because it does not stretch much and can make your cables look flat. Always check the yarn label for weight and recommended needle size. Before you start, knit a small swatch to see how your yarn and needles work together. This helps you get the right size and feel for your sweater.
Circular Needle Sizes
Picking the right circular needle size and length helps your project go smoothly. Here’s a quick guide:
Needle Length | Best For | Why It Works |
|---|---|---|
16″ | Sleeves, hats, neckbands | Fits small circles without bunching stitches |
24″ | Kids’ sweaters, vests | Good for medium projects, keeps stitches even |
32″ | Adult sweater bodies | Holds lots of stitches, perfect for big projects |
You want your needle to be about 4 inches shorter than your sweater’s chest size. This keeps your stitches from stretching or bunching. For most adult sweaters, a 32″ circular needle works best for the body, and a 16″ needle is great for neckbands. If you need to knit a small circle, try the Magic Loop method or use double-pointed needles (DPNs). Remember, the thickness of your needle (like 3.5 mm) changes how tight or loose your stitches look. Always make a test swatch to check your gauge before starting.
Tip: Circular needles help spread out the weight of your project. This makes knitting big sweaters easier on your hands and wrists.
Other Essential Tools
You need more than just yarn and needles for Cable Knit Sweaters. Here are some must-have tools:
Cable needles: These hold stitches while you make the cable twist.
Stitch markers: Use these to mark pattern repeats or the start of a round.
Row counter: Helps you keep track of rows in complex patterns.
Crochet hook: Great for picking up dropped stitches or weaving in ends.
Notepad and pen: Write down your progress or any changes you make.
Stitch holders: Hold stitches you need to set aside.
Knitting bag: Keeps all your tools and yarn organized.
Some cable needles have grooves to keep stitches from slipping. You might also want cable locks to stop stitches from falling off your circular needles. Building your own toolkit makes every project easier and more fun.
Knitting Tips
Reading Patterns and Charts
Reading knitting patterns and charts can feel like learning a new language. You see lots of symbols, abbreviations, and numbers. Don’t worry. You can master this skill with a little practice. Many knitters find that cable charts make things easier because you can see the twists and turns before you knit them. Books like Arans & Celtics – The Best of Knitter’s Magazine and Cables Untangled by Melissa Leapman break down these charts with step-by-step guides, clear photos, and simple instructions. These resources show you how to match chart symbols to real stitches and help you spot where each cable crosses.
When you read a cable chart, start at the bottom right corner. Work each row from right to left if you knit flat, or always right to left if you knit in the round. Each square stands for a stitch. Special symbols show you when to cross stitches for a cable. Always check the chart key before you start. If you get stuck, look at the close-up photos in your pattern book. They help you see what your knitting should look like.
Tip: Use sticky notes or a magnetic board to mark your place on the chart. This keeps you from losing your spot as you knit.
Managing Tension
Tension means how tight or loose you hold your yarn. Good tension makes your cables look neat and even. If your stitches feel too tight, your sweater might turn out small. If they feel too loose, the cables may look sloppy. Needle size plays a big role in tension. If your stitches are too tight, try a bigger needle. If they are too loose, use a smaller one.
Gauge swatching is the first step to get the right sweater size.
Patterns often give a gauge, like “18 stitches = 4 inches.” If your swatch is smaller, use a bigger needle. If it’s bigger, use a smaller needle.
Stitch gauge matters more than row gauge for fit. Focus on getting the right number of stitches per inch.
Many knitters talk about sleeve tightness and fit. Adjust your needle size or add stitches if you need more room.
You can change your tension by relaxing your hands or changing how you wrap the yarn. Try a few rows and see how it feels. If you notice your cables pulling in too much, loosen up a bit or go up a needle size.
Swatching and Gauge
Swatching means knitting a small sample before you start your main project. This step helps you check your tension, see how your yarn looks, and make sure your sweater will fit. For Cable Knit Sweaters, swatching is extra important. Cables pull the fabric in, so your gauge might change from plain knitting.
You can make a flat swatch or a tubular swatch. If you plan to knit your sweater in the round, try making a tubular swatch using the Magic Loop method or double-pointed needles (DPNs). This gives you a more accurate gauge because your stitches will match your real project.
When you swatch, knit a piece at least 4 inches wide. Block it by washing and drying it the way you will treat your sweater. Then measure how many stitches fit in 4 inches. If you need to, adjust your needle size and try again. Swatching also lets you test how your cables look and feel. Some knitters use tricks like leaving a few stitches out of work to mark inches or measuring after blocking to get the most accurate results. This helps you keep your fabric density even and your cables crisp.
Note: Swatching saves time in the long run. It helps you avoid surprises and makes sure your sweater fits just right.
Avoiding Common Mistakes
Everyone makes mistakes, especially when learning cables. Here are some ways to avoid the most common ones:
Always count your stitches before and after each cable row. This helps you catch mistakes early.
Use stitch markers to mark the start of each cable section.
Read your pattern and chart carefully. Double-check the key for each symbol.
If you knit cables flat, remember to reverse the chart for wrong-side rows. If you knit in the round, follow the chart as written.
Don’t skip swatching. It helps you spot problems with tension or fit before you start the main project.
If you drop a stitch, use a crochet hook to pick it up right away.
If you want to adapt a cable pattern from flat knitting to in-the-round, remember that you will always work on the right side. This means you follow the chart from right to left for every row. You don’t need to reverse the stitches for wrong-side rows. This makes knitting in the round a bit easier for cables.
Tip: Take your time and check your work often. Fixing a small mistake now is much easier than ripping out rows later.
1-Skein Projects

Project Ideas
You might think you need a lot of yarn for cable projects, but you can make plenty of things with just one skein. Small accessories and garments are perfect for using up leftover yarn. Try making a cabled headband, a cozy cowl, or a pair of fingerless mitts. These projects let you practice new cable patterns without a big commitment.
The Kansas City Cowl is a great example. The knitter used leftover yarn and short skeins, mixing colors and even reversing sections to create a mirrored look. You can split your yarn for borders or use split splicing to join pieces. Adjust the pattern length to fit the yarn you have. The finished cowl works as a scarf or a shoulder wrap, showing how flexible these projects can be.
Tip: One-skein projects help you use up scraps and try new techniques. You get a quick win and a stylish accessory!
Baby Sweater Pattern
Baby sweaters make wonderful one-skein projects. Many knitters look for cable knit baby sweater patterns, and they are always in demand. When you knit a baby sweater, swatch first because cables pull the fabric in. Measure your gauge over the cable pattern to get the right fit.
Map out your cable motifs before you start.
Draw shapes to plan where each cable will go.
Fill in extra stitches with simple patterns to keep things balanced.
This planning helps you create a sweater that fits well and looks great. Even with one skein, you can make a special gift that shows off your cable skills.
Chunky Knit Highlights
Chunky cables add bold texture to your projects. Designers like Carol Feller use wide ribs and large cable panels to make certain areas stand out. You do not need to cover the whole piece with cables. Try adding a chunky cable down the center of a hat or along the edge of a scarf. This style gives your project a modern, sculptural look without making it too heavy.
Some sweaters use honeycomb cables on just part of the garment, letting the cables shape and highlight key areas. You can also play with the direction of your cables for a unique effect. These chunky highlights make your one-skein project pop and keep it fun to knit.
Troubleshooting
Fixing Cable Mistakes
Cable mistakes happen to everyone, even experienced knitters. You might cross a cable the wrong way or notice a twist out of place. Don’t panic! You can fix most cable errors without ripping out your whole project. One helpful skill is grafting. If you learn the Kitchener stitch, you can repair raveled or snagged areas and even recreate cable patterns. Grafting sounds tricky, but it’s easier than you think and works for cables, lace, and more.
If you spot a mistake a few rows down, use a crochet hook or knitting needle to drop just the stitches in the cable section. Carefully re-knit them in the correct order. This saves you from starting over. Many knitters also use a tapestry needle to pull up slack and redistribute yarn if you see ladders or loose stitches after fixing a cable.
Tip: Take your time when fixing cables. Double-check your pattern before you start the repair.
A survey of over 800 knitters found that cable mistakes and gauge issues are some of the biggest challenges. You’re not alone if you feel frustrated. Expert guides suggest practicing repairs on a swatch first to build confidence.
Uneven Stitches
Uneven stitches can make your cables look messy. You might see some stitches that look bigger or smaller than others. This often happens if your tension changes or if you use different needles. Swatching helps you spot these problems early. Try knitting a larger swatch in your main stitch pattern, then soak and dry it naturally. Measure your gauge after it dries.
Needle choice and tension affect stitch evenness.
Blocking your finished sweater helps set the stitches and smooth out bumps.
Consistent technique makes a big difference.
Some knitters find that knitting in the round gives more even stitches. If you notice unevenness, adjust your stitch count or try a different needle type. Accept that a little variation is normal—handmade sweaters have character!
Dropped Stitches
Dropped stitches can feel scary, but you can fix them. Use a crochet hook to pick up the dropped stitch and work it back up to your needle. If you see a ladder (a long loose stitch), use a tapestry needle to pull the slack back into the cable stitches. Blocking your sweater afterward helps set everything in place.
Pull yarn snugly before purling after a cable to prevent ladders.
Tug the yarn after inserting the needle for a purl stitch.
Wrap yarn clockwise for purl stitches to reduce slack, but remember to knit through the back loop next row.
Work the first few purl stitches after a cable close to the needle tips.
Remember: Most mistakes can be fixed. Take a deep breath and keep going. Every knitter learns from these moments!
Community and Inspiration
Learning from Others
You do not have to knit alone. When you join a knitting circle or an online group, you find people who love cables as much as you do. These groups welcome everyone, from beginners to experts. You can ask questions, share your progress, and get advice on tricky cable stitches. Many knitters enjoy learning from others in these spaces.
Knitting circles bring together people of all ages and backgrounds. You see new patterns and old traditions side by side.
Experienced knitters often mentor newcomers. They show you how to fix mistakes and try new cable techniques.
Some groups work on community projects, like making hats or blankets for hospitals. These shared goals help everyone learn and feel connected.
Many knitters say these circles feel like family. You get support, friendship, and even a little therapy while you knit.
Tip: If you cannot find a local group, look for online forums or social media pages. You will find videos, pattern swaps, and lots of encouragement.
Sharing Your Projects
You can inspire others by sharing your cable knit projects. Post photos on Instagram, Ravelry, or Facebook. Write about your process, your yarn choices, and what you learned. Other knitters love to see your work and may ask for tips or patterns.
Sharing helps you track your progress. You will see how much you improve with each project.
You might get helpful feedback or new ideas for your next sweater.
When you share, you join a worldwide community. People from different places and cultures connect through their love of cables.
Remember: Every project you finish is a story. When you share it, you help someone else start their own cable knitting adventure.
You can make Cable Knit Sweaters with the right tools and a few simple tips. Try a 1-skein project if you want something quick. Change up your needle sizes to see what works best for you. Join a knitting group or online forum for support and new ideas. Want to learn more? Check out video tutorials or books for extra help. You will keep getting better with every project!
FAQ
How do I keep my cables from looking too tight?
Tight cables usually come from tension that’s too firm. Here’s how to fix it:
Relax your grip while knitting cables—let the yarn glide instead of pulling it tight.
Use a slightly larger needle, especially on the rows where cables are twisted.
After finishing, steam block or wet block the piece. This allows the stitches to relax and the cables to open up beautifully.
Can I knit cables without a cable needle?
Yes, you can! For small cables, just slip a few stitches off your needle, hold them in front or back, then knit the next stitches. Carefully return the slipped stitches and knit them. This trick saves time and feels less fiddly.
What yarn weight works best for cable sweaters?
Worsted or aran weight yarns show cables clearly. Thicker yarns make bold cables, while thinner yarns create delicate patterns. Check your pattern for suggestions. Wool yarns work best because they stretch and bounce back, making your cables pop.
How do I fix a cable crossed the wrong way?
Don’t worry! Drop just the cable stitches down to the mistake. Use a crochet hook to re-knit them in the right order. Take your time and check your pattern as you fix it. Practice on a swatch if you feel nervous.


