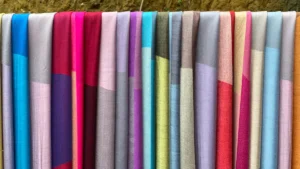
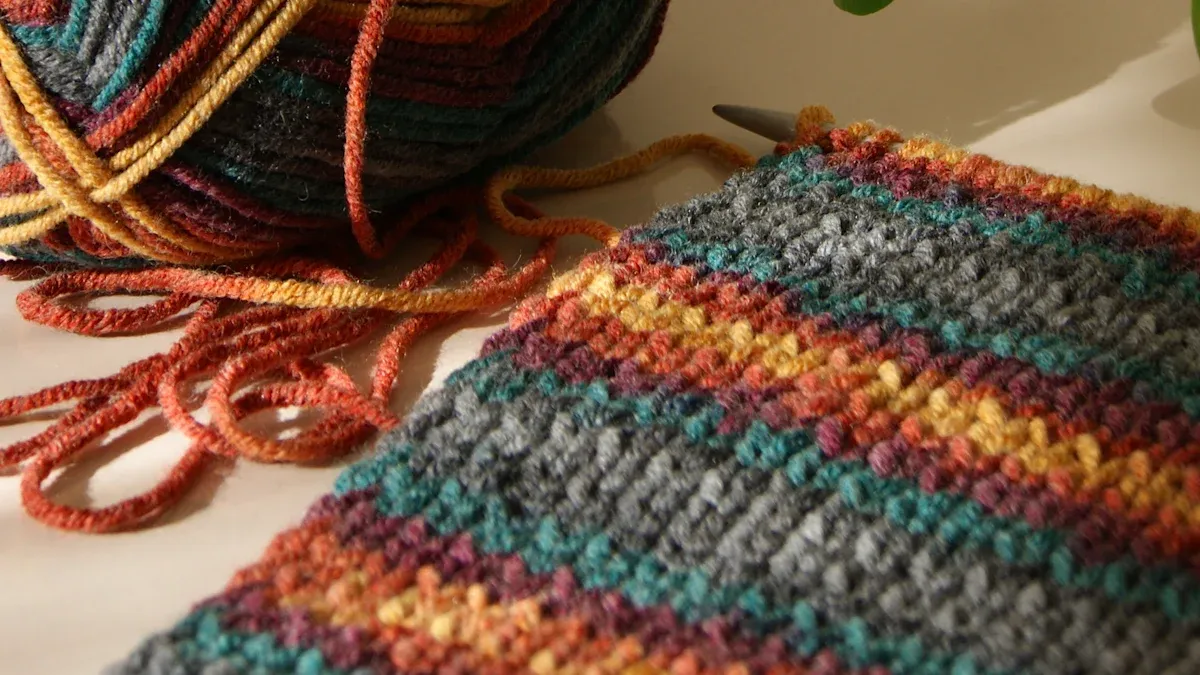
You need to learn Rib Knitting Techniques to make good knitwear. Ribbing helps clothes stretch, stay in shape, and look neat. Patterns like 1×1 or 2×2 ribs and elastic yarns help fabric keep its shape and last longer.
Experts say to use 5-10% elastic fibers, tighter gauges, and the right needle size for the best stretch. Take care of ribbed fabrics by hand washing and not using heat. This keeps them strong.
Impact on Fabric Properties | Application Examples | |
|---|---|---|
k1, p1 rib | Very stretchy and fits tightly | Edges and hems that need to stretch |
k2, p2 rib | Stiffer and bounces back better | Necklines, socks, thick fabrics |
Twisted rib | Tighter and lasts longer | Clothes that need to be strong |
Broken rib | More texture and easy to knit | Fast and stylish projects |
You see ribbing on cuffs, waistbands, and whole clothes. Rib Knitting Techniques help you make things that last and look nice.
Key Takeaways
Rib knitting creates stretchy, durable fabric that keeps clothes fitting well and looking neat.
Choose rib stitch types like 1×1 for maximum stretch or 2×2 for a thicker, textured look based on your design needs.
Use proper cast-on and bind-off methods to keep ribbed edges elastic and prevent flaring.
Maintain even tension and use smaller needles to make ribbing tight, neat, and long-lasting.
Ribbing works well for cuffs, waistbands, necklines, and full garments, adding comfort and style.
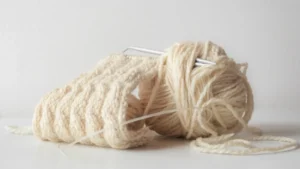
Rib Stitch Types
Rib stitches form when you alternate knit and purl stitches in a row. This creates raised ridges and flat valleys. The pattern gives ribbed fabric its stretch and bounce. You see ribbing in many parts of clothing, from cuffs to full sweaters. The type of rib you choose changes how your garment looks and feels.
1×1 and 2×2 Rib
You make 1×1 rib by knitting one stitch, then purling one stitch, and repeating this across the row. This creates a tight, stretchy fabric. 1×1 rib works best for cuffs, collars, and waistbands. It hugs the body and keeps its shape well. You often see it in commercial knitwear because it stretches a lot and fits snugly.
2×2 rib uses two knit stitches followed by two purl stitches. This makes wider ribs and a chunkier look. 2×2 rib still stretches, but not as much as 1×1. It feels thicker and looks bold. Designers use 2×2 rib for sweaters, hats, and scarves. Both types keep their shape, but 1×1 rib feels softer and more flexible.
Tip: Use 1×1 rib for areas that need maximum stretch, like wristbands. Choose 2×2 rib for a more textured, stylish finish.
Rib Stitch Type | Stitch Pattern | Common Uses |
|---|---|---|
1×1 Rib | Knit 1, Purl 1 | Cuffs, collars, waistbands |
2×2 Rib | Knit 2, Purl 2 | Sweaters, scarves, hats |
Broken Rib
Broken rib combines rows of ribbing with rows of plain knitting. This creates a fabric with extra texture and a unique look. You get a pattern that lays flat and feels soft. Broken rib is easy to knit and remember. You often use it for hats, headbands, leg warmers, and chunky shawls. It stretches well and feels cozy, making it great for winter accessories.
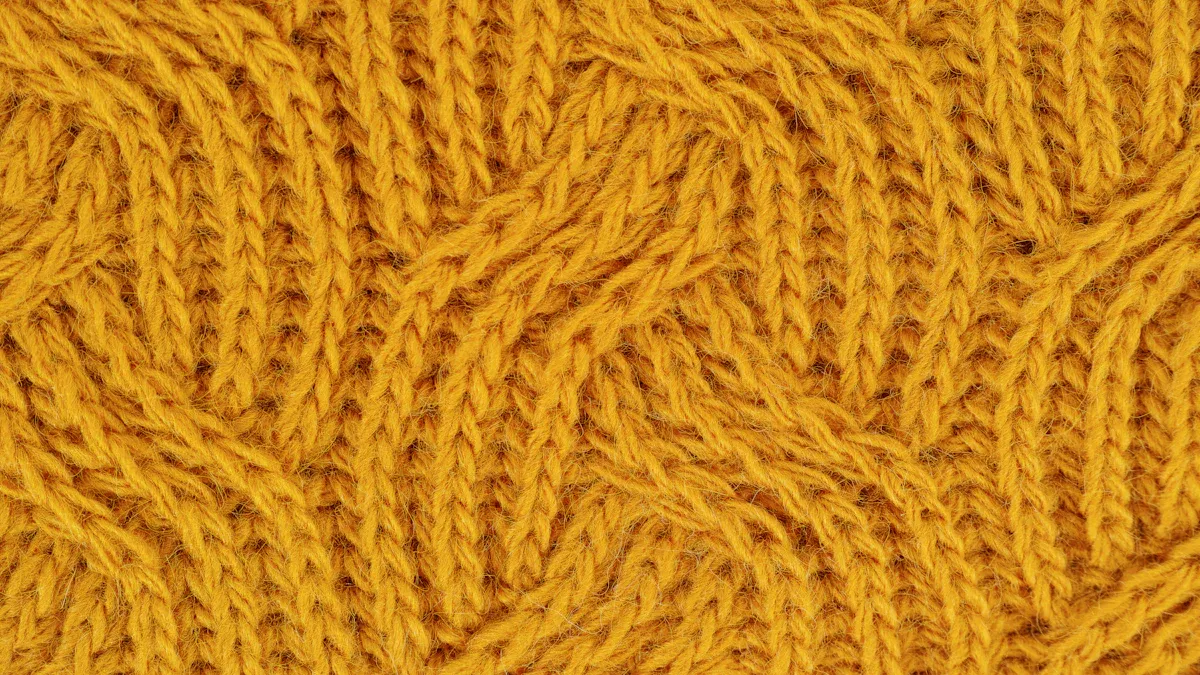
Twisted and Fisherman’s Rib
Twisted rib uses twisted knit stitches. This makes the fabric tighter and more durable. You get a crisp, defined rib that stands out. Twisted rib works well for strong edges and stylish details.
Fisherman’s rib creates a thick, fluffy fabric. You knit into the stitch below, which adds volume and warmth. Fisherman’s rib is perfect for blankets, scarves, and cozy sweaters. It feels soft and traps heat, making it a favorite for cold weather.
You use ribbing for garment edges because it is dense and holds its shape. Rib knit fabric for full garments is lighter and more flexible. Edge ribbing uses shorter strands between stitches, so it feels thicker and bounces back better. Full rib knit fabric covers the whole garment and feels softer, with ribs on both sides.
Essential Rib Knitting Techniques
Cast-Ons and Bind-Offs
You need the right cast-on and bind-off methods to create ribbing that looks professional and lasts a long time. Experts recommend several cast-on techniques for ribbed edges. The Long-Tail Cast-On is a favorite because it gives you a stable and stretchy edge. If you want a polished look, try the Ribbed Cable Cast-On or the Tubular Cast-On. These methods help your ribbing stay elastic and prevent the edge from flaring out. The 1×1 Rib Cabled Cast-On blends well with rib patterns and works well for hats, mittens, and sweater cuffs.
Here are some common cast-on methods for ribbing:
Long-Tail Cast-On: Quick, neat, and stretchy.
German Twisted Cast-On: Very stretchy, great for socks and hats.
Cable Cast-On and Ribbed Cable Cast-On: Sturdy and elastic, perfect for ribbed edges.
Tubular Cast-On: Gives a beautiful, stretchy edge, but takes more time to learn.
When you finish your ribbing, you want a bind-off that matches the stretch and look of your cast-on. Jeny’s Surprisingly Stretchy Bind-Off (JSSBO) is popular for ribbing. It gives you a stretchy edge that snaps back into shape and does not flare out. You can use this method for both 1×1 and 2×2 rib patterns. Another option is the i-cord selvage bind-off, which creates a neat, stable edge that hides yarn ends and keeps the edge from stretching out.
Tip: Always bind off in the rib pattern to keep the edge even and prevent flaring.
Tension and Consistency
Keeping your tension even is key to making ribbed fabric that looks neat and lasts a long time. Rib Knitting Techniques work best when you use tight, steady tension. This helps your fabric keep its shape and bounce back after stretching. If your tension is too loose, the ribbing will look messy and may not fit well.
You can use a smaller needle size for ribbing to get a snug fit. Patterns often suggest this trick to help your ribbing stay tight. If you see loose columns or uneven stitches, try knitting tighter or slipping stitches and fixing them on the next row. This shortens the yarn floats and tightens the fabric.
Here are some tips for fixing uneven ribbing:
Check your yarn twist and knitting style. Overtwisting or untwisting can make ribbing look uneven.
Try different ways of winding your yarn, like center-pull or ball winding, and knit test swatches.
Slip loose stitches and fix them on the next row to tighten up the ribbing.
Compare flat and circular knitting. Sometimes ribbing looks different depending on the method.
Note: Flat knitting gives you more control over stitch alignment, making your ribbing smoother and tighter. Circular knitting can create a spiral effect, which may affect the stretch and look of your ribbing.
Advanced Rib Knitting Techniques
Modern Rib Knitting Techniques go beyond basic hand knitting. High-end fashion and sportswear brands use advanced machines to create special ribbed fabrics. Computerized flat knitting machines let you design complex rib patterns, mix different rib widths, and add technical yarns like conductive fibers for smart clothing. These machines can also make seamless garments, which feel smooth and fit better.
You can use circular rib knitting machines to make seamless, elastic tubes for bodywear and sportswear. These machines control stitch formation and tension very precisely, so the fabric stretches evenly and feels comfortable. Smart knitting machines use sensors and AI to watch for problems and keep the fabric quality high. They also help reduce waste by making only what you need.
Here are some advanced techniques used in the industry:
Mix different rib scales and gauges for unique textures.
Add surface effects and patterns directly into the rib structure.
Engineer rib structures for muscle support, ventilation, and compression in sportswear.
Use sustainable methods like on-demand knitting and eco-friendly yarns.
Remember: The method you choose—flat or circular knitting—affects the stretch and structure of your ribbed fabric. Flat knitting gives you more control, while circular knitting is faster and makes seamless tubes.
Rib Knitting Techniques help you create garments that are not only stylish but also strong and comfortable. By mastering these methods, you can produce high-quality knitwear for any purpose.
Ribbing in Product Design
Stretch and Fit
Ribbing helps clothes stretch and fit well. Narrow ribs like 1×1 make fabric very stretchy. They help clothes fit close to the body and keep their shape. Wider ribs, such as 2×2 or 3×3, give more texture and still stretch, but feel thicker. Fisherman’s rib makes fabric soft, warm, and bouncy. You often see ribbing on cuffs, neckbands, and waistbands. These spots need to stay tight and not get loose. Stretchy bind-off methods help ribbing keep its shape, especially on sweater cuffs and hat brims.
Tip: Pick your rib stitch type based on how much stretch and comfort you want in your design.
Rib Stitch Type | Construction Pattern | Effect on Fit and Comfort |
|---|---|---|
1×1 Rib | Alternating single knit & purl | Highly elastic, close fit, retains shape well |
2×2 Rib | Two knit stitches, two purl | Pronounced ribs, good stretch, different texture |
Fisherman’s Rib | Tubular cast-on, knit/purl alt | Lofty, bouncy, very stretchy, ideal for warmth |
Garment Applications
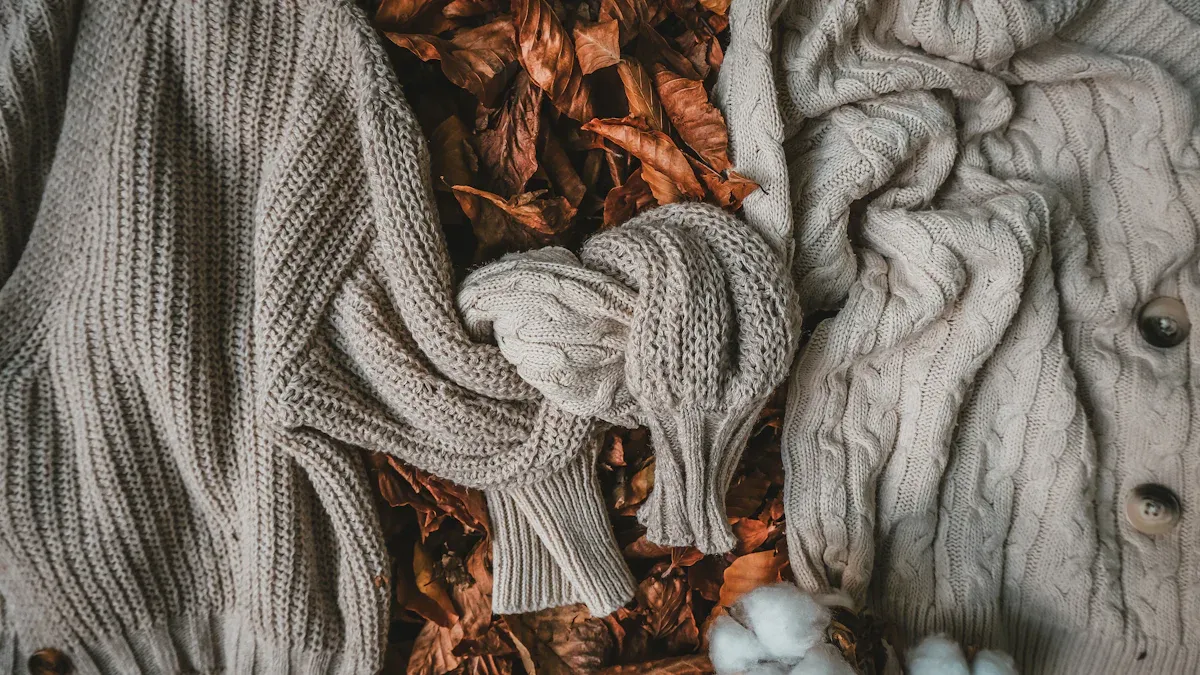
Ribbing is used in many parts of clothes. Cuffs, waistbands, and necklines use ribbing to hold clothes in place and add comfort. Rib knit fabrics are found in tops, T-shirts, and tank tops for stretch and fit. Dresses, skirts, and socks use ribbing for a snug feel. Sportswear and activewear need ribbing for stretch and to help with sweat. Accessories like hats, gloves, scarves, and headbands use ribbing for warmth and style.
Ribbing in cuffs and waistbands stops them from stretching out.
Neckbands use ribbing for a smooth, comfy edge.
Socks and stockings use ribbing so they stay up.
Sportswear uses ribbing for better movement and comfort.
Rib Knitting Techniques help you pick the best rib for each part of a garment, making your designs work well and look good.
Technical Specifications
When you work with manufacturers or OEMs, you must give clear details for ribbed fabrics. These details include what the fabric is made of, its weight, width, and how it is knitted. For example, a common ribbed fabric might have 48% modal, 48% polyester, and 4% spandex, weigh 250 GSM, and be 155 cm wide. You can change the color, logo, and other features to fit your needs.
Specification Aspect | Details |
|---|---|
Fabric Composition | 48% Modal, 48% Polyester, 4% Spandex |
Fabric Weight | 250 GSM |
Fabric Width | 155 cm |
Knitting Technique | Warp knitting |
Features | Elasticity, Softness, Breathability |
Applications | Collars, Cuffs, Sportswear, Underwear |
Customization | Color, Logo, Specs customizable |
Minimum Order Qty | 1000 meters |
To make rib patterns with machines, you plan the pattern repeat, pick needles, and set carriage options. You may need to change the pattern for the machine’s memory. Always check for mistakes in needle selection to avoid problems. Good details and careful planning help your ribbed clothes meet quality standards when making many pieces.
You can get really good at rib knitting by keeping your stitches even. Pick the best cast-on for your project. Change machine settings to make your work better and faster. Good workers, strong yarn, and careful controls help you make fewer mistakes. This also makes your knitting look nicer. Try making test pieces and ask experts for advice to improve your designs.
Keep up with news, events, and classes from trusted places.
Always try new things and keep learning. These tips will help you make better products and stay ahead in rib knitting.
FAQ
What is the best rib stitch for stretchy cuffs?
You get the best stretch with 1×1 rib. This pattern hugs the wrist and keeps its shape. Many designers use it for cuffs on sweaters and jackets.
How do you fix uneven ribbing?
You can fix uneven ribbing by checking your tension and using a smaller needle. Try knitting a test swatch first. If you see loose stitches, slip them and tighten on the next row.
Can you use ribbing for the whole garment?
Yes, you can use ribbing for full garments. Rib knit fabric feels soft and stretches well. Many sweaters, dresses, and tops use all-over ribbing for comfort and style.
What yarn works best for rib knitting?
Choose yarns with some elasticity, like wool or blends with spandex. These yarns help your ribbing bounce back and keep its shape. Avoid stiff or slippery yarns for best results.
How do you keep ribbed edges from flaring out?
Use a stretchy cast-on and bind-off. Match your edge technique to your rib pattern. This keeps the edge neat and prevents flaring. Test your method on a small swatch before starting your project.