You can knit a sweater, even if you feel like a total beginner. Everyone starts somewhere, and learning Knitting Patterns helps you build real skills. When you pick up your needles, you might dream about wearing your first sweater or even telling friends, “Hey, I made my first sweater!” Mistakes happen—every knitter drops a stitch or two. > Remember, every beginner learns by doing, and each sweater brings you closer to confidence.
Key Takeaways
Start with simple knitting patterns that offer clear instructions and use basic stitches like knit and purl to build your skills.
Choose medium-weight yarn and bamboo or wood needles sized US 7 to 9 for better control and easier stitching.
Always knit a swatch to check your gauge before starting your sweater to ensure the right fit and avoid sizing problems.
Break down your sweater project into steps: casting on, knitting the body and sleeves, dividing for sleeves, and binding off with care.
Use resources like video tutorials and knitting communities for extra help, and remember that practice and patience lead to success.
Knitting Patterns Basics

Pattern Types
When you start exploring knitting patterns, you’ll notice two main types: written instructions and charted patterns. Written instructions guide you step by step, telling you exactly what to do for each row. This style works well if you like clear directions and don’t want to worry about symbols. Charted patterns use symbols in a grid to show you how your stitches should look. Charts help you see the design, which is great if you learn visually or want to spot mistakes quickly. Many beginner patterns, like the Serenity Wrap, offer both written and charted instructions. This lets you pick the style that feels easiest for you. Some patterns, especially simple lace designs, work well with just written instructions. Having both options in a knitting pattern gives you more flexibility and helps you build confidence as you learn.
Tip: Try reading a basic knitting pattern in both formats to see which one you prefer!
Common Abbreviations
Knitting patterns use lots of abbreviations to keep instructions short and easy to follow. Here are some you’ll see often:
BO: Bind off
K: Knit
P: Purl
YO: Yarn over
K2Tog: Knit 2 together
P2Tog: Purl 2 together
M1: Make 1 (increase)
PM: Place marker
Rep: Repeat
WS: Wrong side
RS: Right side
ssk: Slip, slip, knit
st(s): Stitch(es)
dec(s): Decrease(s)
inc(s): Increase(s)
You’ll find these in almost every sweater knitting pattern. Learning them makes reading patterns much easier.
Essential Stitches
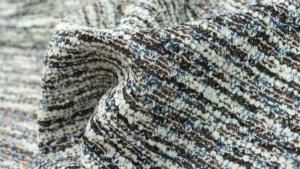
The two most important stitches for knitting are knit and purl. These stitches create all the textures and patterns you see in sweaters. When you knit, you make a smooth “V” shape on the fabric’s right side. Purl stitches make little bumps. By mixing knit and purl stitches, you can create ribbing, seed stitch, and more. Mastering these essential stitches for knitting helps you build strong, stretchy, and comfortable sweaters. Studies show that the way you combine knit and purl stitches changes how your sweater feels and fits. Understanding these basics is key for every sweater knitting pattern you try.
Choose the Perfect Beginner Sweater Pattern
Pattern Selection Tips
When you want to choose the perfect beginner sweater pattern, look for simple shapes and clear instructions. Raglan and seamless sweaters are great choices. These styles let you knit in one piece, so you do not have to sew many parts together. Many knitters like these patterns because you can easily change the length or fit. If you have a petite body or want a custom fit, raglan and seamless designs make it easy to adjust as you go. Most beginners find these patterns less confusing and more fun to knit.
Tip: Pick a beginner-friendly pattern that excites you. If you love the look, you will feel more motivated to finish your sweater!
Here are some things knitters say about easy sweaters for beginners:
Simple, well-written patterns help you learn faster.
Adjustable designs, like seamless or raglan, fit many body shapes.
Patterns with clear size guides and step-by-step instructions are best for your first project.
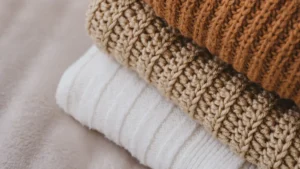
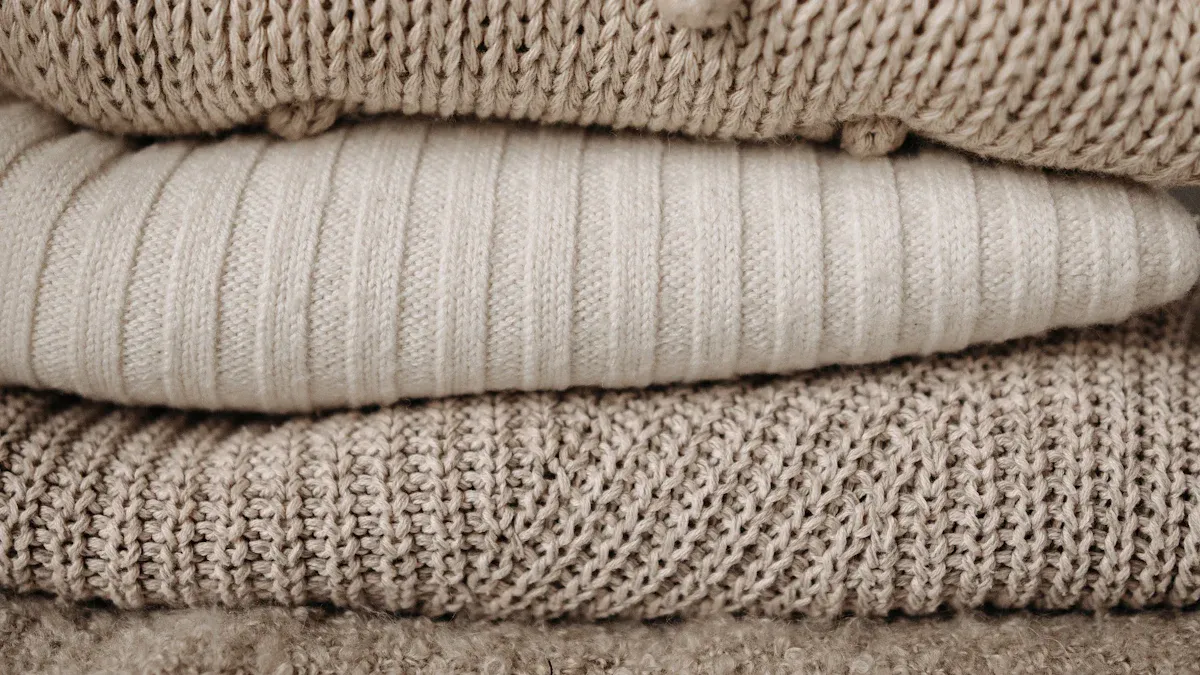
Yarn and Needles
Choosing the yarn for your first sweater matters a lot. Go for a medium-weight yarn, like worsted, because it is easy to see your stitches and feels good in your hands. Avoid fuzzy or very thin yarns, since they can make knitting harder. Bamboo or wood needles work well for beginners. They grip the yarn better and help you control your stitches. Most people like needle sizes between US 7 and US 9 for their first sweater. These sizes make it easier to see your work and keep your hands comfortable.
Here is a quick table to help you pick:
Yarn Type | Needle Size (US) | Why Choose It? |
|---|---|---|
Worsted | 7-9 | Easy to handle and see |
DK | 6-8 | Lighter, but still visible |
Avoid fuzzy | Any | Hard to see stitches |
Note: Tools like stitch markers and tapestry needles make sweater knitting easier. Keep them handy!
Gauge and Swatching
Before you start your sweater, always check your gauge. Gauge means how many stitches and rows you knit in a set space, like 4 inches. Your tension can change how big or small your sweater turns out. Knit a swatch using the same yarn and needles you plan to use. Wash and dry the swatch like you would your finished sweater. Then, measure how many stitches and rows fit in 4 inches. If your gauge does not match the pattern, try a different needle size.
Swatching helps you see if your tension matches the pattern.
A good swatch should be at least 6 inches square.
Remember: Checking gauge and tension saves you from sweaters that are too tight or too loose. This step makes sure your sweater fits just right!
Knit Your First Sweater Step-by-Step
Knitting a sweater might seem like a big project, but you can do it if you break it down into simple steps. Let’s walk through the process together, from the very first stitch to the final finishing touches. You’ll build your skills, learn new techniques, and end up with a cozy sweater you made yourself!
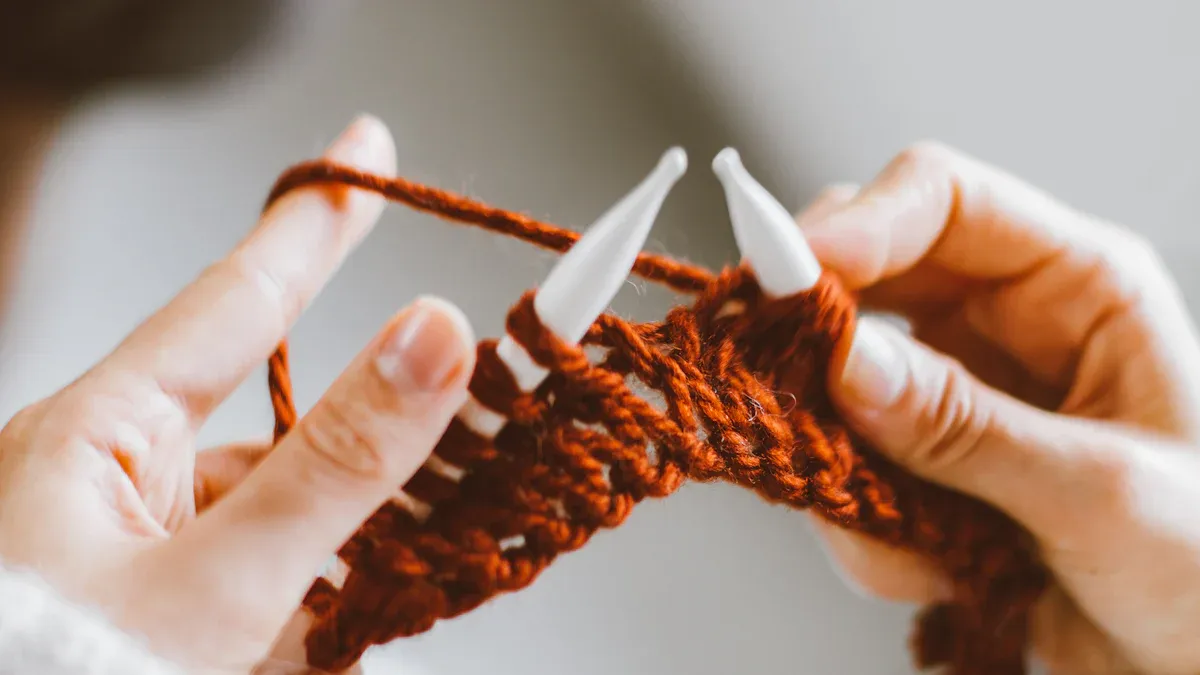
Casting On
Every sweater starts with casting on. This step creates the very first row of stitches on your needle. For most sweaters, you want a stretchy edge that looks neat and feels comfortable. The long-tail cast-on is a favorite for many knitters because it gives you both stretch and a tidy edge. If you’re just starting out, you might find the knitted cast-on easier to learn. Both methods work well for sweaters.
Tip: Use medium-sized wooden or bamboo needles and a light-colored worsted yarn. This makes it easier to see your stitches and control your tension.
Here’s how you can cast on for your sweater:
Make a slip knot and place it on your needle.
Choose your cast-on method (long-tail or knitted).
Keep your stitches loose but not floppy. If you notice your cast-on row feels tight, try using a needle one size larger just for this step.
Count your stitches carefully. Double-check the number before you start knitting.
Many expert knitters recommend practicing your cast-on a few times before you begin your actual sweater. Watching a video tutorial can help you see exactly how to move your hands and yarn. Don’t worry if it takes a few tries—every knitter improves with practice!
Knitting the Body and Sleeves
Once you’ve cast on, you’ll start knitting the main part of your sweater. Most beginner patterns use simple stitches like knit and purl. These two stitches create all the basic textures you need. For example, stockinette stitch uses knit stitches on the right side and purl stitches on the wrong side. Ribbing, which you often see at the cuffs and hem, uses a mix of knit and purl stitches in the same row.
Here’s a simple way to keep track of your progress:
Use stitch markers to mark the beginning of rounds or important sections.
Keep a row counter or make tally marks on paper.
Check your work every few rows to spot mistakes early.
You’ll knit the body of the sweater first, then move on to the sleeves. Some patterns have you knit the sleeves separately and sew them on later. Others let you knit everything in one piece. If you need to pick up stitches for the sleeves, use a smaller needle and work slowly. This helps you avoid holes and keeps your stitches even.
Callout: If you get stuck, search for a video tutorial that matches your pattern. Seeing someone else knit the same step can make things much clearer!
Dividing for Sleeves
When you reach the point where the sleeves and body separate, you’ll need to divide your stitches. This step can feel tricky, but it’s just a matter of moving stitches onto holders or spare yarn. For top-down raglan sweaters, you’ll usually place sleeve stitches on holders and keep knitting the body.
A helpful rule is to set aside about 8% of your total stitches for each underarm. For example, if you have 200 stitches, you’d put 16 stitches on hold for each underarm. You’ll also split the raglan seam stitches evenly between the sleeves and body. Take your time with this step and count carefully.
If your pattern calls for adding stitches at the underarm, use the backward loop or provisional cast-on method. This gives you extra room and makes the sweater more comfortable to wear.
Note: Measuring your armhole depth helps you decide when to divide for sleeves. Try on your sweater as you go if possible!
Binding Off and Finishing
You’re almost done! Binding off secures your last row of stitches so your sweater doesn’t unravel. For ribbed edges, bind off by knitting the knit stitches and purling the purl stitches. This keeps the edge stretchy and neat.
Here’s a step-by-step guide for binding off:
Slip the first stitch without knitting it.
Knit the next stitch loosely.
Pass the first stitch over the second.
Keep your yarn loose to maintain elasticity.
Repeat until you finish all stitches.
Leave a yarn tail long enough for sewing seams if needed.
Secure the last stitch and weave in the ends neatly.
Step | What to Do |
|---|---|
Bind off in ribbing | Knit the knit stitches, purl the purl stitches for a stretchy edge |
Weave in ends | Use a tapestry needle to hide yarn tails along the back of the knitting |
Block your sweater | Wet or steam your sweater, then lay it flat to dry for a smooth finish |
Sew seams | Take your time and use a matching thread or yarn for invisible seams |
Finishing touches make your sweater look polished. Weave in all yarn ends on the inside of your sweater. Block your sweater by gently washing and shaping it. This step relaxes the stitches and helps your sweater fit better. If your pattern calls for seaming, use a mattress stitch or whip stitch for strong, invisible joins.
Tip: Blocking transforms your sweater from “homemade” to “handmade.” Don’t skip this step!
Need More Help? Try These Resources
If you’re a visual learner, you’ll find tons of helpful video tutorials online. Many knitters follow step-by-step videos for each stage of knitting a sweater. You can also join online knitting communities or watch webinars for extra support. These resources walk you through everything from casting on to finishing, and they’re great for troubleshooting if you get stuck.
Here’s a quick checklist to keep you on track:
Gather your supplies: needles, yarn, measuring tape, scissors, tapestry needle.
Cast on and knit your first sweater step by step.
Use stitch markers and row counters to stay organized.
Watch video tutorials for tricky steps.
Block and finish your sweater for a professional look.
Knitting a sweater is a journey. Each step builds your skills and brings you closer to wearing your own creation. Take your time, enjoy the process, and remember—every knitter started with their first sweater!
Sweater Knitting Tips and Troubleshooting
Fixing Mistakes
Everyone makes mistakes when knitting a sweater. You might notice an uneven edge or a tight bind-off. Don’t worry—these problems happen to almost every knitter. Here are some common mistakes and how you can fix them:
You find too many stitches on your needle. Check where you added extra stitches and gently unknit or rip back to the spot.
Sometimes you knit the first stitch twice. Watch your needle placement and, if needed, knit two stitches together to fix it.
You might knit when you should purl. Swap the loops or unravel a few stitches to correct this.
Tight tension makes your sweater stiff. Relax your hands and let the yarn flow more freely.
Losing track of rows happens often. Use a row counter or count the bumps in your fabric to stay on track.
Here’s a table with more mistakes and quick fixes:
Common Mistake | How to Fix or Prevent It |
|---|---|
Use a crochet hook to pick up dropped stitches and keep counting as you knit. | |
Wrong yarn or needles | Always check the pattern and yarn label before starting your sweater. |
Uneven edges | Gently tug the yarn at the start and end of each row to even out your stitches. |
Tight bind-off | Try a stretchier bind-off method or use a larger needle for the last row. |
Not blocking | Block your sweater after knitting to even out stitches and improve the fit. |
Tip: Consistent tension and regular stitch counting help you avoid most sweater mistakes.
Finishing Touches
You want your sweater to look polished and feel great. Finishing steps make a big difference. After you sew the pieces together, take time to block your sweater. Wet blocking works well for animal fibers and helps relax the stitches. Press seams gently and trim any loose threads. If you need to adjust the fit, try on your sweater and make small changes before weaving in the ends. Adding a neat border or hem can keep edges from curling. These steps give your sweater a professional look and show off your new skills.
Community Resources
You don’t have to knit alone! Many knitters share their patterns and advice online. Joining a knitting community helps you find answers and get feedback. You can ask questions, share photos, and learn from others’ experiences. Online resources like pattern handbooks and video tutorials make it easier to understand tricky steps. Peer review and community support help you improve your knitting and feel more confident about your sweater projects.
Note: Sharing your progress and asking for help can turn a tough project into a fun learning experience.
You finished your first sweater—what an achievement! Take a moment to feel proud. Many knitters say each project, even with mistakes, brings more skill and confidence. You might want to try a new sweater pattern or join a local knitting group for fun and support. Every time you finish a sweater, you grow as a maker. If you want to keep learning, check out online videos, blogs, or community forums. You can always say, “I made my first sweater!”
FAQ
How do I read a knitting pattern if I am new?
Start by looking for the list of abbreviations. Read each step slowly. If you see a chart, match the symbols to the stitches. Practice with a small project first.
What should I do if my sweater turns out too big or too small?
Check your gauge before you start. If your sweater is the wrong size, try using a different needle size next time. Swatching helps you get the right fit.
Can I knit a sweater with just knit and purl stitches?
Yes! Many beginner sweaters use only knit and purl stitches. You can make a simple pullover or even a basic baby sweater with these two stitches.
Why does my cast-off edge look tight?
You might be pulling the yarn too hard. Try using a larger needle for the last row. A stretchy bind-off helps your sweater feel more comfortable.
Where can I find help if I get stuck on a pattern?
You can join online knitting groups, watch video tutorials, or ask questions in forums. Many knitters love to help beginners. Don’t be afraid to reach out!