You can make cool textures with the inverted knitting stitch. This stitch changes the normal knit and purl pattern. A reverse knitting stitch means you knit the same row from the other side. This makes both sides look the same. Many new knitters like reversible stitches. They help you feel more confident and make your work look neat. Stitches that look nice on both sides are great for scarves or cowls. These patterns are very popular. Reversible patterns save time and keep you warm. They are good for beginners and experts. Try these ideas to make your knitting useful and pretty.
Key Takeaways
Inverted and reversible knitting stitches make fabric look nice on both sides. This is good for things like scarves and blankets. These projects stay neat and feel warm.
To knit inverted stitches, you change the normal knit and purl order. This gives your work new textures. It also helps your fabric stay flat and not curl up.
Easy reversible stitch patterns like seed stitch, moss stitch, and ribbing are good for beginners. They make fabric that is stretchy and balanced.
If you practice knitting backwards and fix mistakes early, your stitches will stay even. Your reversible patterns will also look neat.
Using inverted and reversible stitches helps you try creative designs. These designs add style and personality to your knitting projects.
Inverted Knitting Stitch Basics
What Is an Inverted Knitting Stitch
You might wonder why the inverted knitting stitch is different. This stitch changes how you use knit and purl stitches. You switch the usual order of the stitches. The fabric looks different on each side when you do this. This helps you make projects that look neat on both sides. Many beginners like this stitch because it gives their work a new feel. You can use it in scarves, blankets, or any project where both sides should look nice.
Reverse Knitting Explained
Reverse knitting may seem hard at first, but it is easy to learn. In books, reverse knitting often means the reverse stockinette stitch. You make this by purling one row and knitting the next. The bumpy side faces out instead of the smooth side. This gives your fabric a soft and cool texture. Reverse stockinette is not about knitting backward. You use the “wrong” side as the “right” side. Many reversible stitches use this idea to make both sides look good. This is helpful for beginners who want a pattern that stands out.
Tip: Try using reverse stockinette as a background for colorwork. The bumpy texture mixes colors softly and adds depth to your design.
Differences and Similarities
You might wonder how inverted and reverse knitting stitches are alike or different. Both use knit and purl stitches, but they change your fabric in different ways. Experts have found some important differences and similarities. You can see them in the table below:
Aspect | Inverted/Reverse Knitting Stitches | Original Knitting Stitches |
|---|---|---|
Direction of Decreases | Decreases change direction, moving away from yarn overs (YOs) | Decreases follow the line of the YOs |
Relationship Below Decreases | Decrease stitches stack directly on top of YOs, causing distortion | Decrease stitches are free and clear of previous YOs |
Between YOs | Full stitch appears between YOs, losing the characteristic twist | Small twisted pieces of yarn between YOs |
Fabric Edge Behavior | Edge pushes down, losing scalloped effect | Edge bows out, creating scalloped edges |
Visual Effect on Lace | Lace holes become smooshed and distorted | Lace holes are well-defined and round |
Structural Impact | Decreases no longer align with YOs, affecting fabric structure | Decreases align with YOs, maintaining fabric integrity |
Techniques Required | Cannot simply reverse or invert stitches; grafting needed | Standard knitting techniques suffice |
Similarities | Both use fundamental knitting elements: stitches, decreases, YOs | Both use fundamental knitting elements: stitches, decreases, YOs |
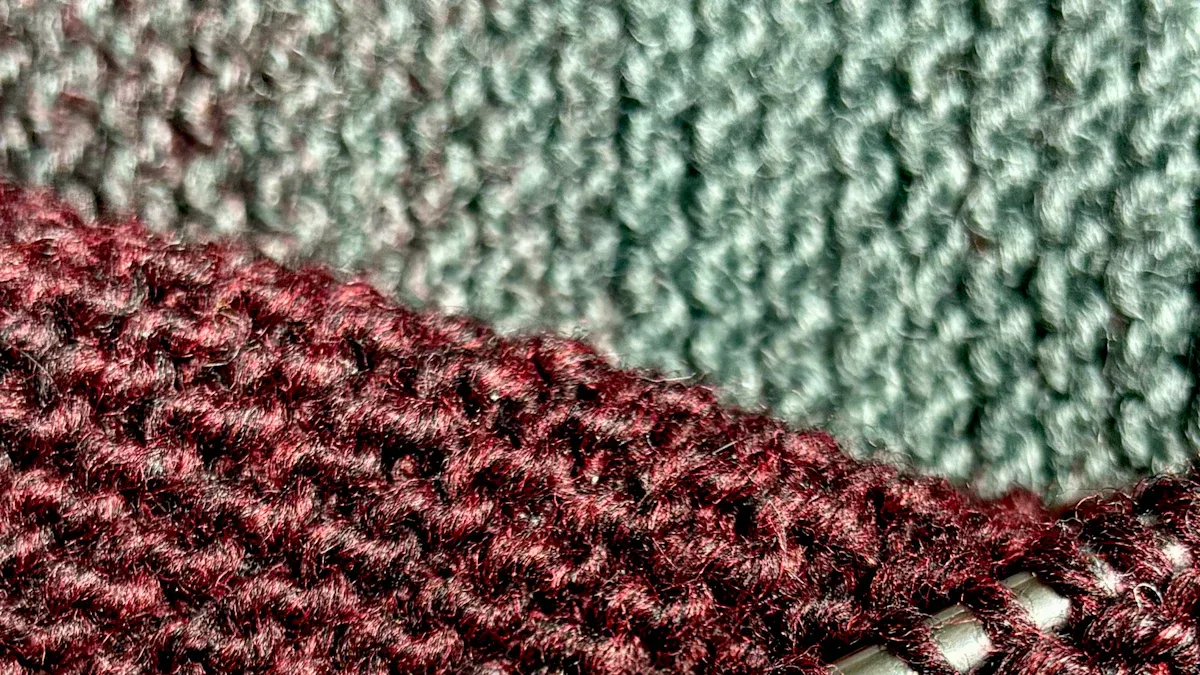
When you use inverted or reverse knitting stitches, you change how the fabric looks and feels. Reverse stockinette gives a bumpy texture, while regular stockinette is smooth. These changes make your projects more fun and reversible. Reversible stitches let you make fabric with two nice sides. They usually lie flat and do not curl. This is great for scarves, blankets, and other items that show both sides. You can use knit and purl stitches in new ways to make patterns with cool textures.
If you are new to knitting, reversible stitches help you feel more sure of yourself. You can try different patterns and see how inverted stitches change your work. Many knitters like making reversible projects because they are useful and pretty. Try these ideas in your next project and see what you can make.
How to Knit Inverted Stitches
Inverted Stitch Instructions
You can create beautiful textures with the inverted knitting stitch. This stitch changes the usual order of knit and purl stitches, making your fabric look unique and often reversible. Many knitters love using this technique for scarves, blankets, and other projects where both sides should look neat.
Before you start, gather your tools. Most experienced knitters recommend these materials:
Worsted weight wool or acrylic yarn. These fibers are easy to handle, especially if you are a beginner.
Circular needles that match your yarn size. These make it easier to manage your stitches.
Scissors and a yarn needle for finishing your work.
Use the long tail cast on method for better stitch stability.
Adjust your tension by holding the yarn differently or using smaller needles if you notice big gaps between rows.
Now, follow these step-by-step instructions to make an inverted knitting stitch:
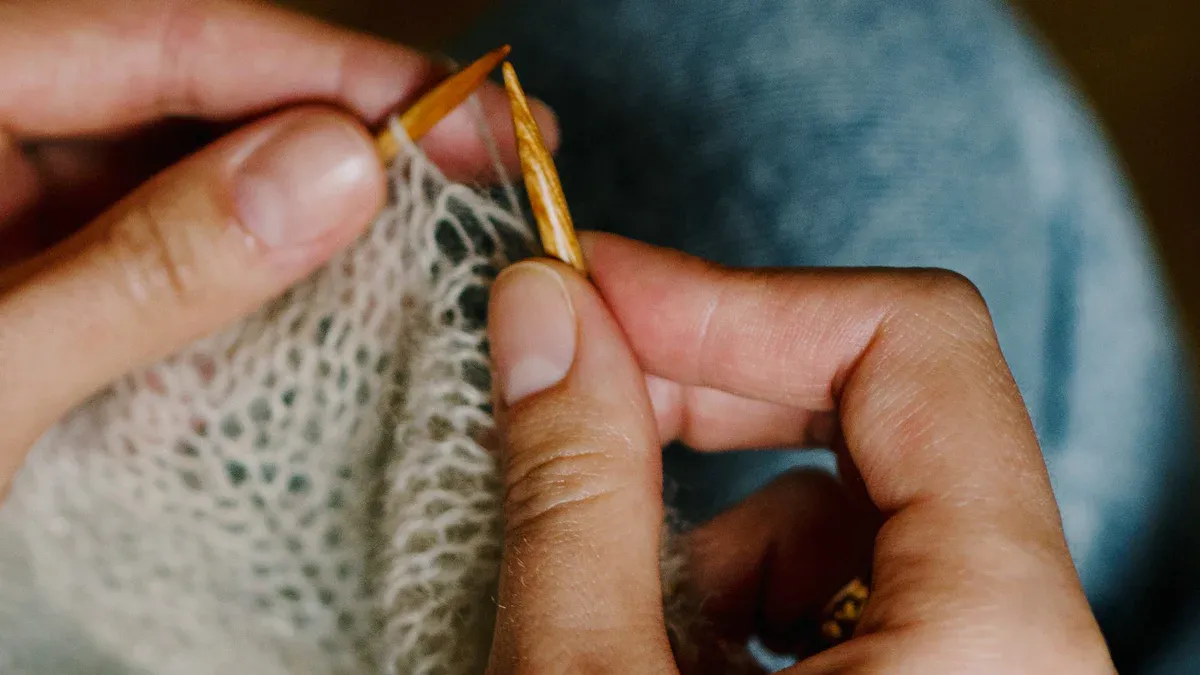
1. Hold the needle with stitches in your left hand and the empty needle in your right hand. 2. Insert the right needle from right to left into the first stitch on the left needle, keeping the needle in front. 3. Bring the yarn to the front of your work and wrap it around the right needle counter-clockwise. 4. Use the right needle to pull the yarn back through the stitch. 5. Slide the old stitch off the left needle, leaving the new stitch on the right needle. 6. Repeat these steps for each stitch across the row.
You can use this method to create a reversible fabric. The combination of knit and purl stitches in a new order gives your project a fresh look. If you want to see this process in action, search for a video tutorial online. Watching a demonstration can help you understand each step.
Tip: Try practicing on a small swatch before starting a big project. This helps you get comfortable with the technique and see how the stitches form a reversible pattern.
Knitting Backwards
Knitting backwards is a special skill that can make some patterns easier. You work from left to right, using the left needle as the working needle. This method is helpful for reversible projects like entrelac, bobble stitch, or short rows. You do not need to turn your work as often, which saves time and keeps your stitches even.
Here is how you knit backwards:
1. Hold your needles as you would for regular knitting. 2. Insert the left needle into the back of the first stitch on the right needle. 3. Wrap the yarn counter-clockwise around the left needle. 4. Pass the stitch over the yarn and drop it off the right needle. 5. Continue these steps for each stitch across the row.
Some knitters find knitting backwards a bit fiddly at first. You may notice uneven tension compared to standard knitting. Practice helps you improve. If you use continental style, you might need to adjust your tension. Try using different needle sizes to keep your stitches even.
Knitting backwards is not a replacement for purling, but it can make certain reversible patterns much easier. You can work more efficiently on complex designs by reversing the usual direction and needle usage.
Note: Many knitters use knitting backwards for small sections or when fixing mistakes. It is a useful skill to add to your toolkit.
Troubleshooting Tips
Mistakes can happen, even when you follow a tutorial closely. Here are some expert tips to help you fix common problems with inverted or reversible stitches:
Tinking: If you make a mistake, undo stitches one at a time. Insert the left needle into the loop below the last stitch worked, slip the stitch off the right needle, and pull the loose stitch out until you reach the error. Fix the stitch and continue knitting.
Picking Up Dropped Stitches: If you drop a stitch, secure it with a stitch marker. Use a crochet hook to pull the yarn through the loops above the dropped stitch until it reaches the current row. Slip the stitch back onto the needle and keep going.
Securing Stitches Before Frogging: If you need to rip back several inches, slip the stitches from the mistake row onto an extra needle with the right leg facing forward. This keeps the stitches safe and in the correct orientation. Frog back to that point, then fix any escaped stitches by slipping them back onto the needle or picking them up with a crochet hook.
Checking Stitch Orientation: Look at the ‘legs’ of each stitch on your needle. For stockinette, the right leg should be in front. If it is not, slip the stitch off and reorient it, or knit through the back loop to correct the twist. Twisted stitches feel tight and can distort your reversible fabric.
Tip: Always check your work every few rows. This helps you catch mistakes early and keeps your reversible patterns looking neat.
You can avoid many problems by choosing the right tools and practicing your knit and purl stitches. If you notice loose stitches or gaps, try adjusting your tension or using smaller needles. Remember, every reversible project helps you learn and improve.
A reversible pattern gives you two beautiful sides, so take your time and enjoy the process. If you get stuck, look for a video tutorial or ask for help from other knitters. With practice, you will master inverted stitches and create stunning reversible projects.
Reversible Knit Stitches and Patterns
Reversible Knit Stitches
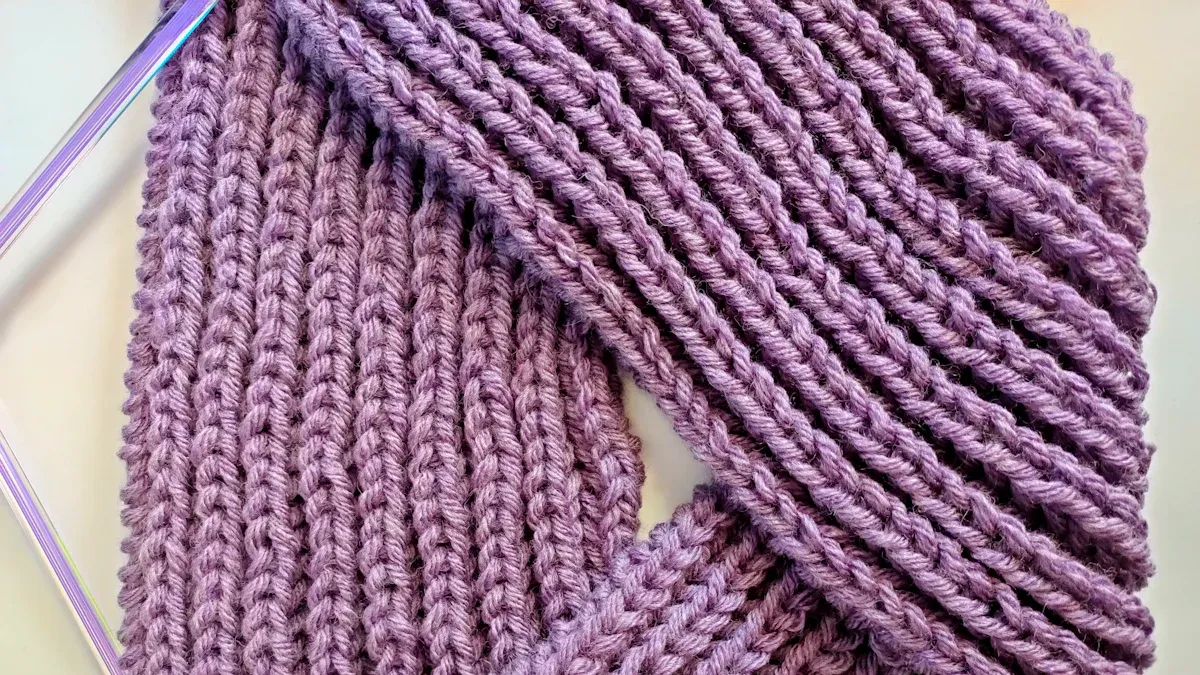
There are many reversible knit stitches you can use. These stitches make your projects look nice on both sides. Some favorites are seed stitch, moss stitch, ribbing, and garter stitch. These stitches use easy knit and purl combinations. Seed stitch and moss stitch make a bumpy texture. Both sides look the same. Ribbing, like 1×1 or 2×2, makes stretchy fabric. It stays flat and neat. Some knitters like to try harder stitches too. Reversible lace stitch, herringbone, and travelling cables add more detail. These stitches make your work more interesting. You can use them for scarves, blankets, or any project that shows both sides.
Tip: Pick wool or wool blend yarns for these stitches. These yarns help your patterns stand out and keep their shape.
Reversible Stitch Patterns
Reversible stitch patterns give you fabric with no wrong side. You can use seed stitch, moss stitch, and ribbing for scarves, hats, and blankets. These patterns look good from every angle. Seed stitch uses a two-row repeat. Moss stitch has a four-row repeat. Both are easy to remember and great for beginners. You can also try double moss stitch or tumbling moss block stitch for more texture. Inverted or reverse knitting changes the order of knit and purl stitches. This helps you make patterns with balance and symmetry. Some designers make clothes you can wear inside out or upside down. This gives you two looks in one.
Reversible Knit Patterns
Reversible knit patterns make fabric that looks the same on both sides. You do this by switching between knit and purl stitches. Garter stitch is made by knitting every row. Double knitting is another way to make reversible patterns. This lets you knit two layers at once. Both sides show a finished design. You can use these patterns for scarves, afghans, and sweaters. They are popular because they do not curl and always look neat. Check your work often to keep your stitches even and your pattern clear. Many knitters like reversible patterns because they are stylish and useful.
Creative Pattern Ideas
Inverted Basket Stitch Pattern
The inverted basket stitch pattern makes a pretty, reversible fabric. This pattern uses blocks of knit and purl stitches. The texture looks like a woven basket. Both sides of your project look tidy. You do not need to worry about a wrong side. Scarves and blankets made with this pattern stay flat. The edges do not curl up. The fabric feels thick and warm. It is great for cold days. You can find a free pattern for the inverted basket stitch online or in books. Many knitters post their finished projects on social media. They show off sweaters, jumpers, and soft blankets. The texture gives your work more depth and helps it stand out.
Tip: Try making a scarf or throw with the inverted basket stitch. The reversible design means both sides always look nice.
Double Knitting and Cables
Double knitting lets you make two layers at once. This makes your project thick and reversible. You can use cables with double knitting for cool textures. Ribbed cable stitches and 1×1 ribbing work well together. Even-numbered cable crossings, like 4/4 or 2/2, keep the pattern even and reversible. Use garter stitch or seed stitch as a background to make the cables stand out. These ideas are great for scarves and blankets. Both sides look finished. You can also find free patterns that use double knitting and cables for more ideas.
Reversible cable scarves
Double-knit blankets
Pillows with reversible cable designs
Project Inspiration
You can use inverted and reversible stitches in many fun ways. Many knitters share their projects online with hashtags or by tagging knitting pages. You might see the inverted basket stitch in sweaters, jumpers, or home decor. Throws and pillows with reversible patterns add style to your room. Put a chunky knit throw on a sofa or bed for a cozy look. You can change throws for different seasons to update your space. Inverted stitches, like slipped or purl stitches, give your projects more texture. Patterns like diamond trellis or checkerboard snowflake are good for special blankets and throws.
Note: Reversible knit stitch patterns are easy to change. You can use different yarn or sizes to make your project unique.
You can find many fun ways to use inverted and reversible knit stitches. These stitches make both sides of your project look nice. They also help your work stay strong and warm. Lots of knitters like reversible patterns because they are simple to use. They help you make scarves, blankets, and throws that people notice.
Reversible stitches let you try out new textures and patterns.
Trying different stitch patterns makes your work special and different.
Each time you use a new reversible stitch, your knitting gets more style and character.
FAQ
What is the difference between inverted and reverse knitting stitches?
You use inverted stitches to swap the usual knit and purl order. Reverse knitting often means showing the purl side as the front. Both create new textures, but they look and feel different.
Can beginners try reversible knitting patterns?
Yes! You can start with simple patterns like seed stitch or ribbing. These patterns use basic knit and purl stitches. You will build confidence and see quick results.
Why do my reversible stitches look uneven?
You might have uneven tension. Try to keep your yarn at the same tightness for each stitch. Practice on a small swatch. Check your work every few rows to catch mistakes early.
What projects work best with inverted or reversible stitches?
Scarves, blankets, and cowls work well. You can also try hats or pillow covers. These projects show both sides, so reversible stitches make them look neat and finished.
How do I fix a mistake in an inverted stitch pattern?
Use a crochet hook to pick up dropped stitches. Tink back one stitch at a time if you spot an error. Always check your stitch orientation before moving on.