When you pick up your knitting, you’ll often hear people talk about knitting right side wrong side. The right side is the “show” side—the one with those neat little V’s that you want everyone to see. The wrong side usually looks bumpy, with purl stitches, and stays hidden. In most projects, knitting right side wrong side matters because it helps you follow patterns, finish projects neatly, and get that polished look you want. Experts say that using a stitch marker can help you keep track, especially when you’re learning.
Key Takeaways
The right side of knitting shows neat V-shaped knit stitches and is the side meant to be seen, while the wrong side looks bumpier with purl stitches and stays hidden.
Knowing the right and wrong sides helps you follow patterns correctly, keep your project neat, and finish with clean seams and edges.
Use stitch markers or the cast-on tail to mark the right side early in your project and avoid confusion as you knit.
Some stitch patterns like garter, ribbing, and reversible designs look the same on both sides, giving you freedom to choose your favorite side as the right side.
If you get mixed up, don’t worry—check your markers or pattern notes, undo a few rows if needed, and keep practicing to improve your knitting skills.
Knitting Right Side Wrong Side
When you start a new knitting project, you might wonder about the difference between the right side and the wrong side. This is a big part of knitting right side wrong side. Let’s break it down so you can spot each side with confidence.
Right Side
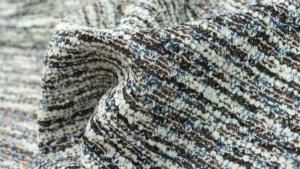
The right side is the face of the fabric. This is the part you want everyone to see when you wear or show off your knitting. People also call it the public side. You’ll notice that the right side usually looks neat and smooth. In most patterns, the right side shows off the design best.
The right side often has those classic “V” shapes from knit stitches.
For ribbing, you’ll see vertical lines that look crisp and tidy.
In colorwork or cables, the right side displays the pattern clearly.
Tip: If you ever get confused, check for the cast-on tail. Many knitters leave it hanging on the right side to help keep track.
Here’s a quick table to help you spot the right side vs. wrong side in different knitting fabrics:
Knit Fabric Type | Right Side Visual Characteristics | Wrong Side Visual Characteristics |
|---|---|---|
Plain Single Jersey | Fine, smooth lines; loop legs form neat rows | Mesh-like, rough pattern |
Jersey Knit | Smooth surface, knit stitches form ‘V’ shapes | Rougher texture, purl bumps show |
Rib Knit | Vertical stripes, smooth columns | Less smooth, texture changes |
Interlock Knit | Uniform, dense, strong on both sides | Very similar to right side |
Polar Fleece | Both sides soft and fluffy | Both sides look and feel the same |
You might notice that some fabrics, like interlock or polar fleece, look almost the same on both sides. Most of the time, though, the right side stands out because it’s smoother and shows the pattern.
Wrong Side
The wrong side is the back side of the fabric. This is the private side, which usually stays hidden inside your sweater or scarf. The wrong side often looks bumpier or less finished than the right side.
In stockinette stitch, the wrong side is full of purl bumps and feels rougher.
For ribbing, the wrong side still has columns, but the bumps are more obvious.
In colorwork, you’ll see yarn floats or strands carried across the back.
With cables, the wrong side looks plain and doesn’t show the twist.
Here are some ways you can tell you’re looking at the wrong side:
You see more bumps than V’s.
The pattern looks less clear or even messy.
In striped knitting, the color changes might look like dashes or loose threads.
Note: The terms right side and wrong side are sometimes called public side and private side. The public side is meant to be seen, while the private side is hidden. Some patterns let you choose which side you want to show, but most patterns tell you which is which.
Quick List: How to Spot Right Side vs. Wrong Side
Look for smooth V’s (right side) or bumpy purls (wrong side).
Check if the pattern looks clear and finished (right side) or plain (wrong side).
Notice if there are yarn floats or loose strands (wrong side in colorwork).
Use a stitch marker or a scrap of yarn to mark the right side when you start.
Knitting right side wrong side can feel tricky at first, but you’ll get the hang of it. Different yarns and colors can make the sides look more or less obvious. Fluffy or blended yarns might hide the bumps, so take your time and look closely.
Remember, knowing the right side vs. wrong side helps you follow patterns, shape your project, and get the look you want. Once you can spot each side, your knitting will look neater and more professional.
Why It Matters
Project Appearance
When you work on a knitting project, the right side and wrong side make a big difference in how your finished piece looks. The right side is usually the part you want everyone to see. It shows off the neat stitches and the design you worked hard to create. The wrong side often looks bumpier or messier. If you mix up the right side and wrong side, your project might not look as polished.
The right side is meant to be the outside of your garment.
Different cast-on methods can change which side is the right side.
Keeping track of the right side and wrong side helps your edges match up.
For ribbing, adding an extra stitch or row on the right side can make seams look even.
You can choose your favorite side as the right side, but you need to stay consistent.
If you always know which is the right side and which is the wrong side, your knitting will look neat and professional. Patterns and textures will line up, and your project will have a smooth finish.
Pattern Instructions
Knitting patterns often tell you when you are on a right side row or a wrong side row. You might see “RS” for right side or “WS” for wrong side in the instructions. This helps you keep track of where you are in the pattern. When you knit flat, you switch between the right side and wrong side every row. The right side row usually shows the main pattern, while the wrong side row is where you work the background stitches.
If the pattern does not say which row is the right side row or wrong side row, you can use a marker. Place a small clip or piece of yarn on the right side. This trick helps you remember which side you are working on, especially if the stitches look similar. Markers are like little reminders that keep your knitting on track.
Finishing
When you finish a knitting project, you often need to sew pieces together. You usually hold the right sides together and sew along the wrong side. This way, the seam stays hidden on the wrong side, and the right side looks smooth. Seaming on the wrong side keeps your joins neat and makes the outside of your project look great.
Hold the right sides together before you start seaming.
Sew along the wrong side so the seam does not show.
Turn your project right side out to see a clean finish.
The right side and wrong side help your project keep its shape and last longer.
If you pay attention to the right side and wrong side during finishing, your knitting will look tidy and feel strong. You will be proud to show off your work!
Identify Sides
Visual Cues
You can spot the right side and wrong side of your knitting by looking closely at the stitches. The right side usually has smooth “V” shapes made by knit stitches. The wrong side often looks bumpy because of purl stitches. If you gently stretch your fabric, those V’s on the right side become even easier to see. On the wrong side, you’ll notice more bumps and sometimes horizontal lines or loops. This trick works for many stitch patterns, like ribbing or moss stitch. When you want to identify the right side, look for a polished, flat surface. To identify the wrong side, check for a rougher texture and less defined patterns.
Here’s a quick checklist for identifying the right and wrong sides:
Look for smooth V’s (right side) or bumpy purls (wrong side).
Stretch the fabric gently to make the V’s pop.
Notice if the fabric curls—stockinette stitch curls toward the wrong side.
Check for color changes or stripes; they often look clearer on the right side.
Pattern Reading
Knitting patterns often tell you which row is the right side and which is the wrong side. You might see “RS” for right side and “WS” for wrong side in the instructions. When you follow a pattern, pay attention to these notes. Some patterns start with a right side row, while others begin on the wrong side. Row numbers can help too. Odd-numbered rows are usually the right side, and even-numbered rows are the wrong side. If you ever feel lost, check the pattern’s legend or notes. Advanced knitters use post-it notes or highlight rows to keep track. You can also look for clues in the stitch pattern. For example, the right side may show a special design, while the wrong side looks plain.
Using Markers
Markers make identifying the right and wrong sides much easier, especially when your knitting looks the same on both sides. Attach a locking stitch marker or a piece of contrasting yarn to the right side early in your project. This marker stays with your work and helps you remember which side is which. If you need to identify the wrong side, place a marker there instead. Some knitters use different colors for each side. You can also use the cast-on tail as a clue. For short tail cast-ons, the tail sits on the left when the right side faces you. For long tail cast-ons, the tail is on the right. These tricks help you keep your knitting organized and make finishing much easier.
Tip: If you ever get confused, stop and check your markers or the cast-on tail. Taking a moment to double-check saves time and keeps your knitting looking great.
Stitch Patterns
Stockinette
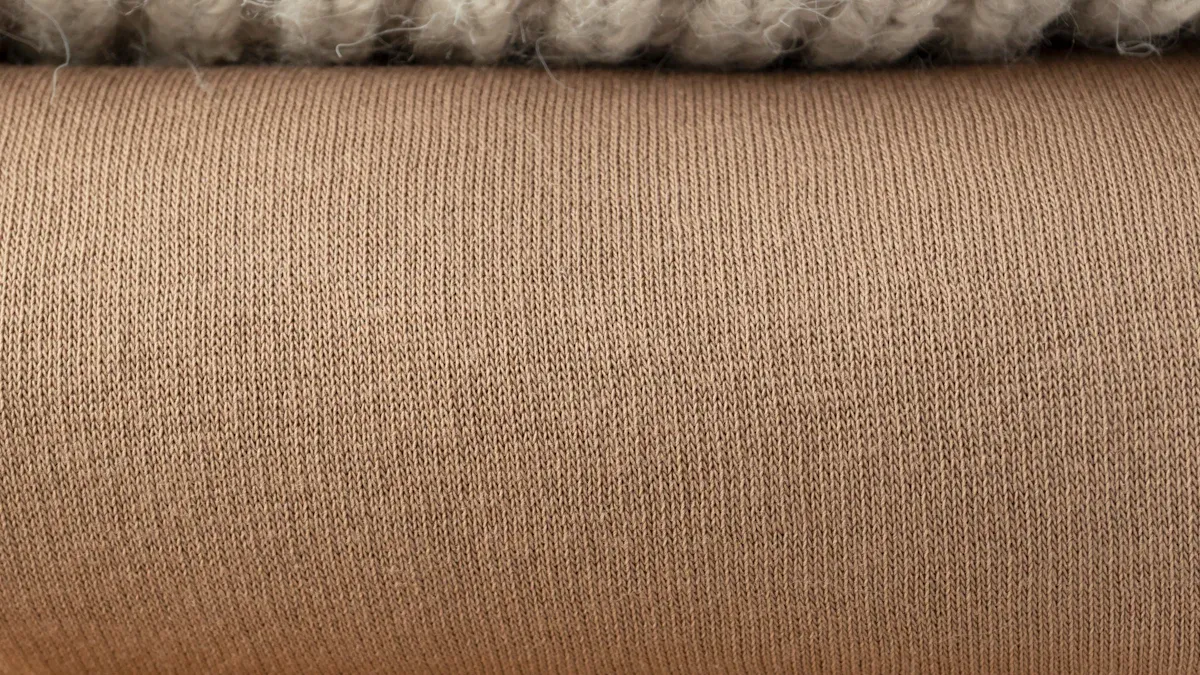
Stockinette stitch is one of the most popular patterns in knitting. You can spot the right side by its smooth, flat surface with neat “V” shapes. The wrong side looks bumpy, with rows of purl stitches stacked like bricks. This difference affects how your project looks and feels. Stockinette fabric curls at the edges, so you often need borders to keep it flat. Here’s a quick table to help you see the difference:
Feature | Right Side (RS) | Wrong Side (WS) / Reverse Stockinette Stitch |
|---|---|---|
Stitch Type | Knit stitches, smooth ‘v’ shapes | Purl stitches, stacked ‘brick-like’ horizontal bars |
Texture | Smooth and consistent | Textured and bumpy |
Visual Role | Intended to be the visible outside | Usually hidden inside or reverse side |
Curling Behavior | Edges curl towards the purl side (WS) | Same curling behavior affects fabric edges |
Reversibility | Not reversible; each side has distinct look | Called Reverse Stockinette Stitch when WS is shown |
Impact on Project | Defines the fabric’s smooth, polished appearance; requires borders (ribbing/garter) to prevent curling | Texture and curling influence finishing and presentation |
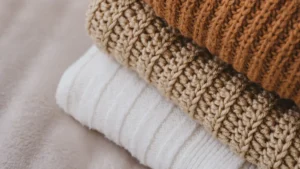
Garter
Garter stitch is easy to recognize in knitting. Both sides look almost the same, with ridges running across the fabric. If you use one color, you might not see any difference at all. This makes garter stitch great for scarves and blankets, where both sides show. If you use more than one color, the right side has neater color joins, while the wrong side shows small loops where you switch yarns. You can use a safety pin or marker to keep track of the right side if you need to count rows.
Tip: In garter stitch, you don’t have to worry much about right and wrong sides unless you’re working with color changes.
Ribbing
Ribbing gives your knitting stretch and bounce. It can be tricky to tell the right side from the wrong side, especially in 1×1 rib. Sometimes, the stitches twist or look uneven. You might see loose knit stitches before purls, especially with thick yarn. Try stretching your ribbing gently to even out the stitches. Avoid twisting the last knit stitch before a purl. You can also change your purling style to keep things neat. If you still have trouble, use a marker to show the right side.
Watch for twisted or loose stitches.
Use a marker for the right side if you get confused.
Cables
Cables make your knitting look fancy. You create cables by crossing stitches, usually over a background of stockinette. The right side shows the cable pattern clearly, with smooth knit stitches. The wrong side looks bumpy and hides the cable. If you use ribbing for cables, both sides can look similar, and the cable may show on both sides. Look for the clear cable crossing to find the right side. If your cables look the same on both sides, you’re probably using a reversible stitch.
Colorwork
Colorwork adds patterns and pictures to your knitting. In stranded colorwork, the right side shows the design, while the wrong side has floats—strands of yarn carried across the back. The way you hold your yarn affects which color stands out. The color held lower on the wrong side makes bigger stitches and pops on the right side. The color held higher fades into the background. Keep your yarn positions the same for a neat look. Swatch first to see how your colors behave.
Note: Some stitch patterns look almost the same on both sides. If you can’t tell, use a marker or pick your favorite side as the right side. This helps you stay organized and enjoy your knitting.
Exceptions
Reversible Patterns
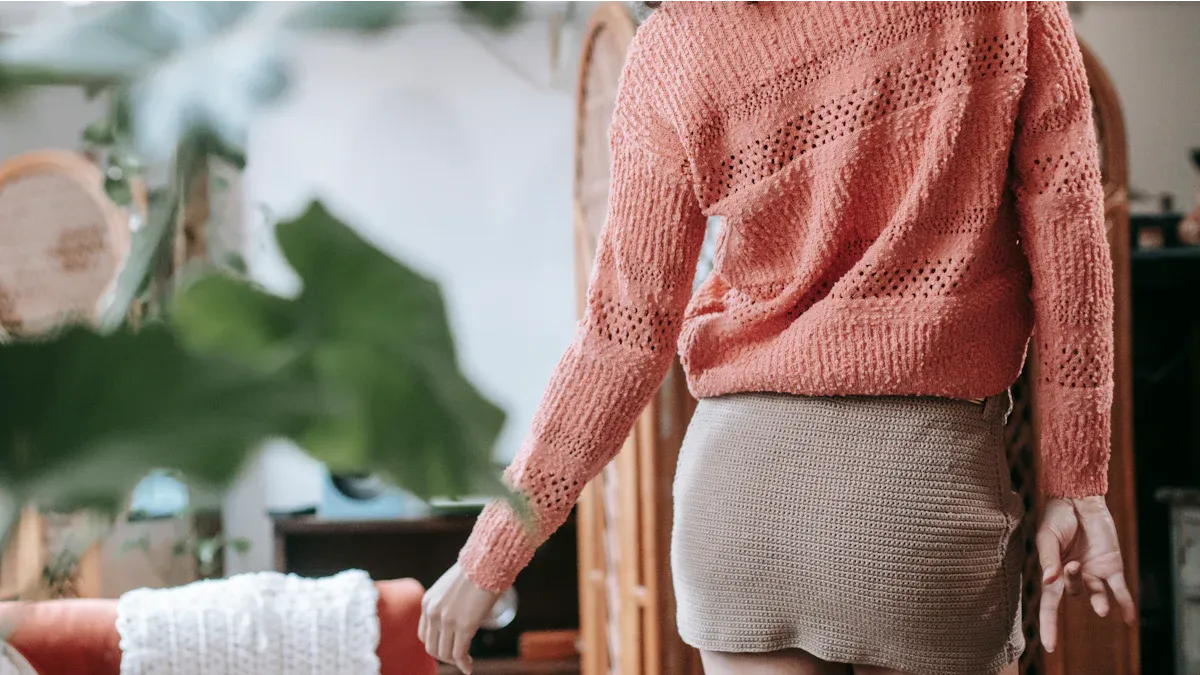
Some knitting patterns break the rules about right side and wrong side. You might find patterns where both sides look great. These are called reversible patterns. For example, the ‘Floats Cowl’ by Jake Canton lets you pick which side you want to show. Both sides look stylish, so you get to choose your favorite. Ribbing patterns like k1, p1 or k2, p2 are also popular because they look the same on both sides. Brioche stitch is another favorite. It makes a thick, soft fabric with a ribbed look on both sides. Garter stitch, seed stitch, moss stitch, linen stitch, and double knitting all create fabric that looks good no matter which side you see. Reversible patterns challenge the old idea that you must hide the wrong side. You can enjoy both sides and even show them off!
When Sides Don’t Matter
Sometimes, you do not need to worry about which is the right side or wrong side. Scarves, blankets, and some cowls often use reversible stitches. These projects get handled and seen from every angle. You want both sides to look nice. In these cases, you can relax and knit without stressing about which side faces out. Some patterns even let you decide which side you like best. You get more freedom and less pressure to follow strict rules.
Tips for Unclear Sides
You might run into patterns where it is hard to tell which is the right side. Here are some tips to help you:
Learn to “read” your knitting. Look for V shapes for knit stitches and bumps for purl stitches.
Use a safety pin or a piece of yarn to mark the right side at the start.
Check your pattern. Many patterns tell you which row is the right side.
If both sides look the same, pick one as the right side and stick with it.
Try making a small swatch to test how the fabric looks.
Remember, the right side is usually the face or outside of your project.
If you ever feel unsure, trust your eyes and your hands. Knitting is creative. You can adapt the idea of right side and wrong side to fit your project. Sometimes, the best side is the one you like most!
Knowing the right and wrong sides in knitting helps you make tidy, nice projects. When you learn to see knit and purl stitches, you get better and spot mistakes quickly. Skilled knitters say reading your stitches helps you work alone and have more fun.
Practice telling the sides on every project. Patterns will be easier to follow, and your finished work will look great. This easy skill can help you become a better knitter!
FAQ
How do I remember which side is the right side?
You can use a locking stitch marker or a piece of bright yarn. Attach it to the right side when you start. This little trick helps you keep track, even if you put your project down for a while.
What happens if I mix up the right and wrong sides?
Your pattern might look uneven or not match the instructions. Don’t worry! Most mistakes are easy to fix. If you notice early, you can undo a few rows and start again.
Do all knitting patterns have a right and wrong side?
No, some patterns are reversible. Garter stitch, seed stitch, and some ribbing look the same on both sides. You can pick your favorite side as the “right” side for these projects.
Can I choose my own right side?
Yes! If you like how one side looks better, you can call it the right side. Just stay consistent throughout your project. This helps your knitting look neat and finished.